Steeking
The most frightening knitting technique, hands down, is steeking. Even the legendary Elizabeth Zimmerman advised "go lie down in a darkened room for an hour" after attempting it. But what exactly is steeking, and why is it so intimidating?
Understanding Steeking
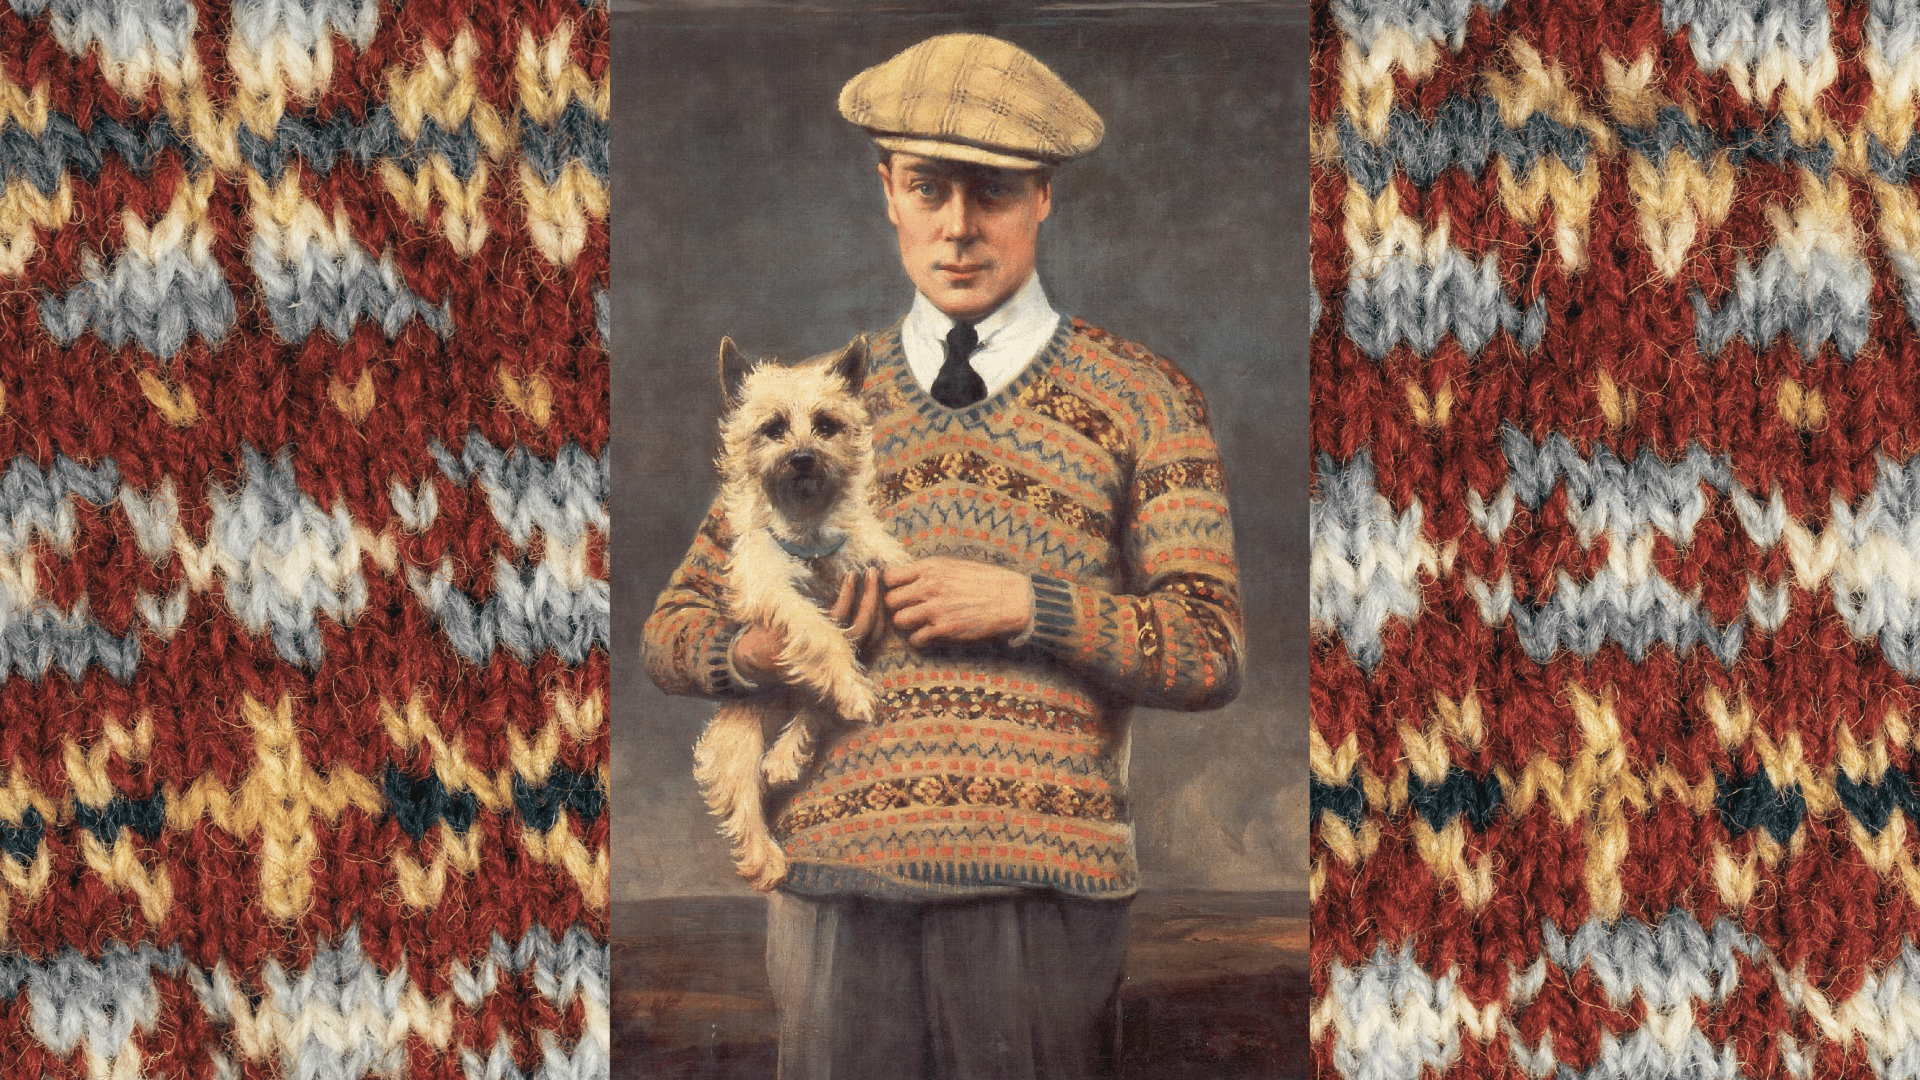
Traditional Shetland Fair Isle and Norwegian sweaters, among others, are knit entirely in the round. This means that armholes, cardigan fronts, and even necklines are knitted without any openings. But, how exactly does this work?
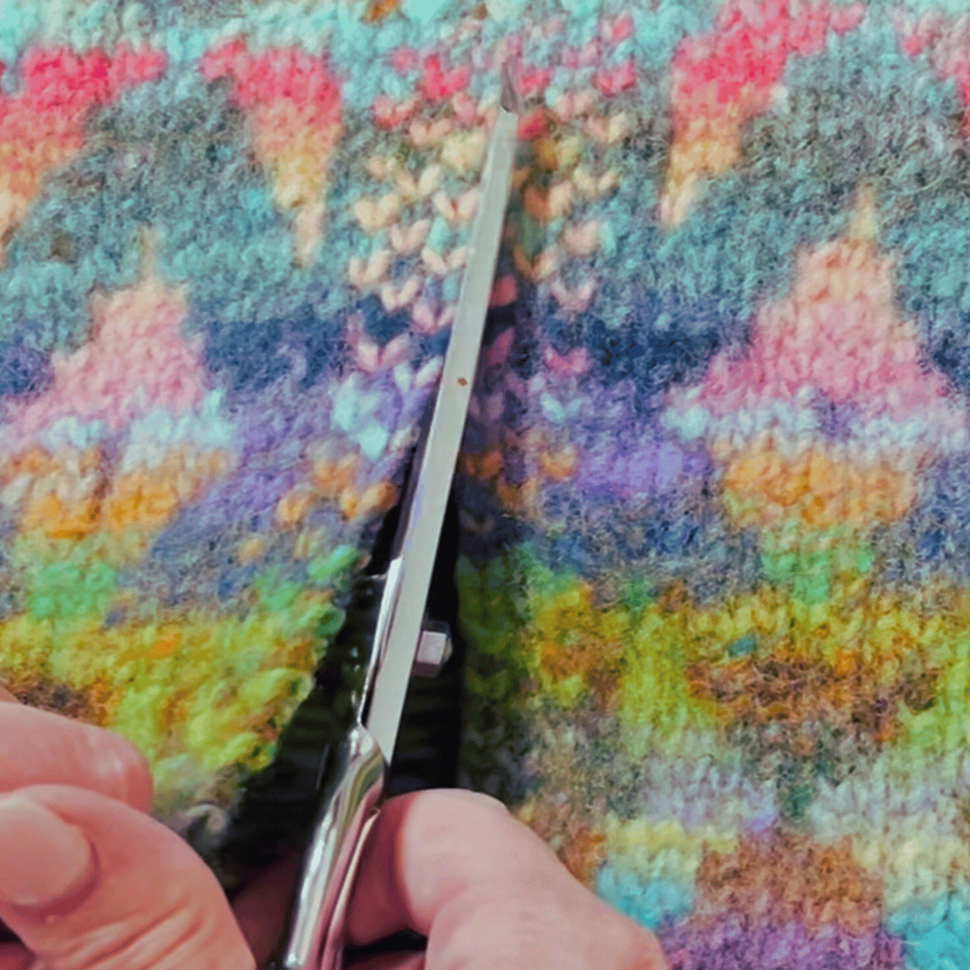
A section of additional stitches is added where the openings will be created, using alternating colors to form a checkerboard pattern. Once the knitting is finished, you will take a pair of scissors and carefully cut the openings—yes, you really do cut your knitting with scissors. I know, it sounds intimidating!
What Prevents Your Work from Unraveling?
There are various techniques to secure the cut steeks. You can sew parallel lines using a sewing machine or by hand. Securing with a crocheted chain creates a lovely edge. Some knitters opt to needle felt the steeked edges. Personally, I prefer machine-sewn steeks, as it's the most secure and efficient approach.
When it comes to steeking, it's best to use woolen yarns. The natural grip of wool fibers helps keep the cut steeks from unraveling.
Felted Table Rug
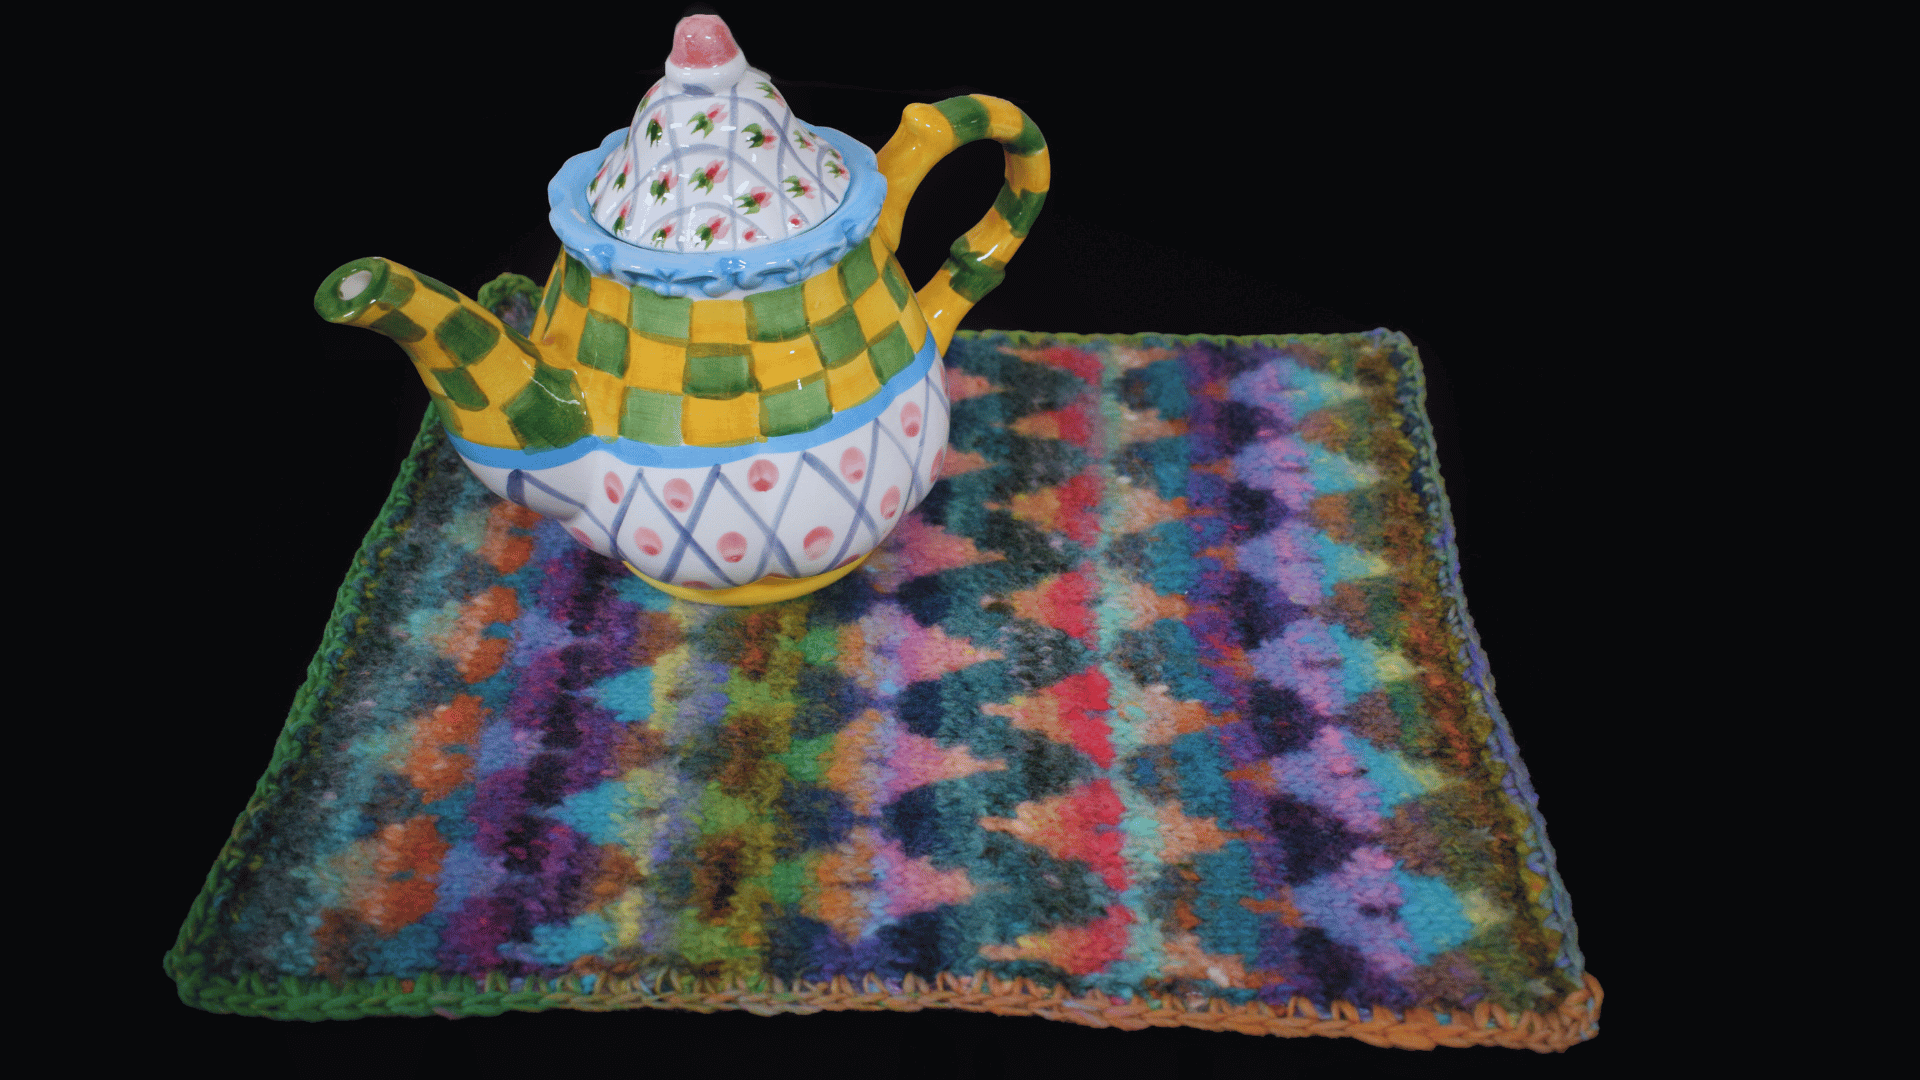
Years ago, my mom designed a felted table rug for a steeking class, and I was fortunate enough to inherit it. It has since become my favorite hot pad, and I find myself using it nearly every time I cook.
I decided it was time to create a new one! Our updated table rug is knit with two contrasting shades of Noro Ito, and I felted it slightly in the washing machine. Once it was dry, it was time to tackle the steeking process.
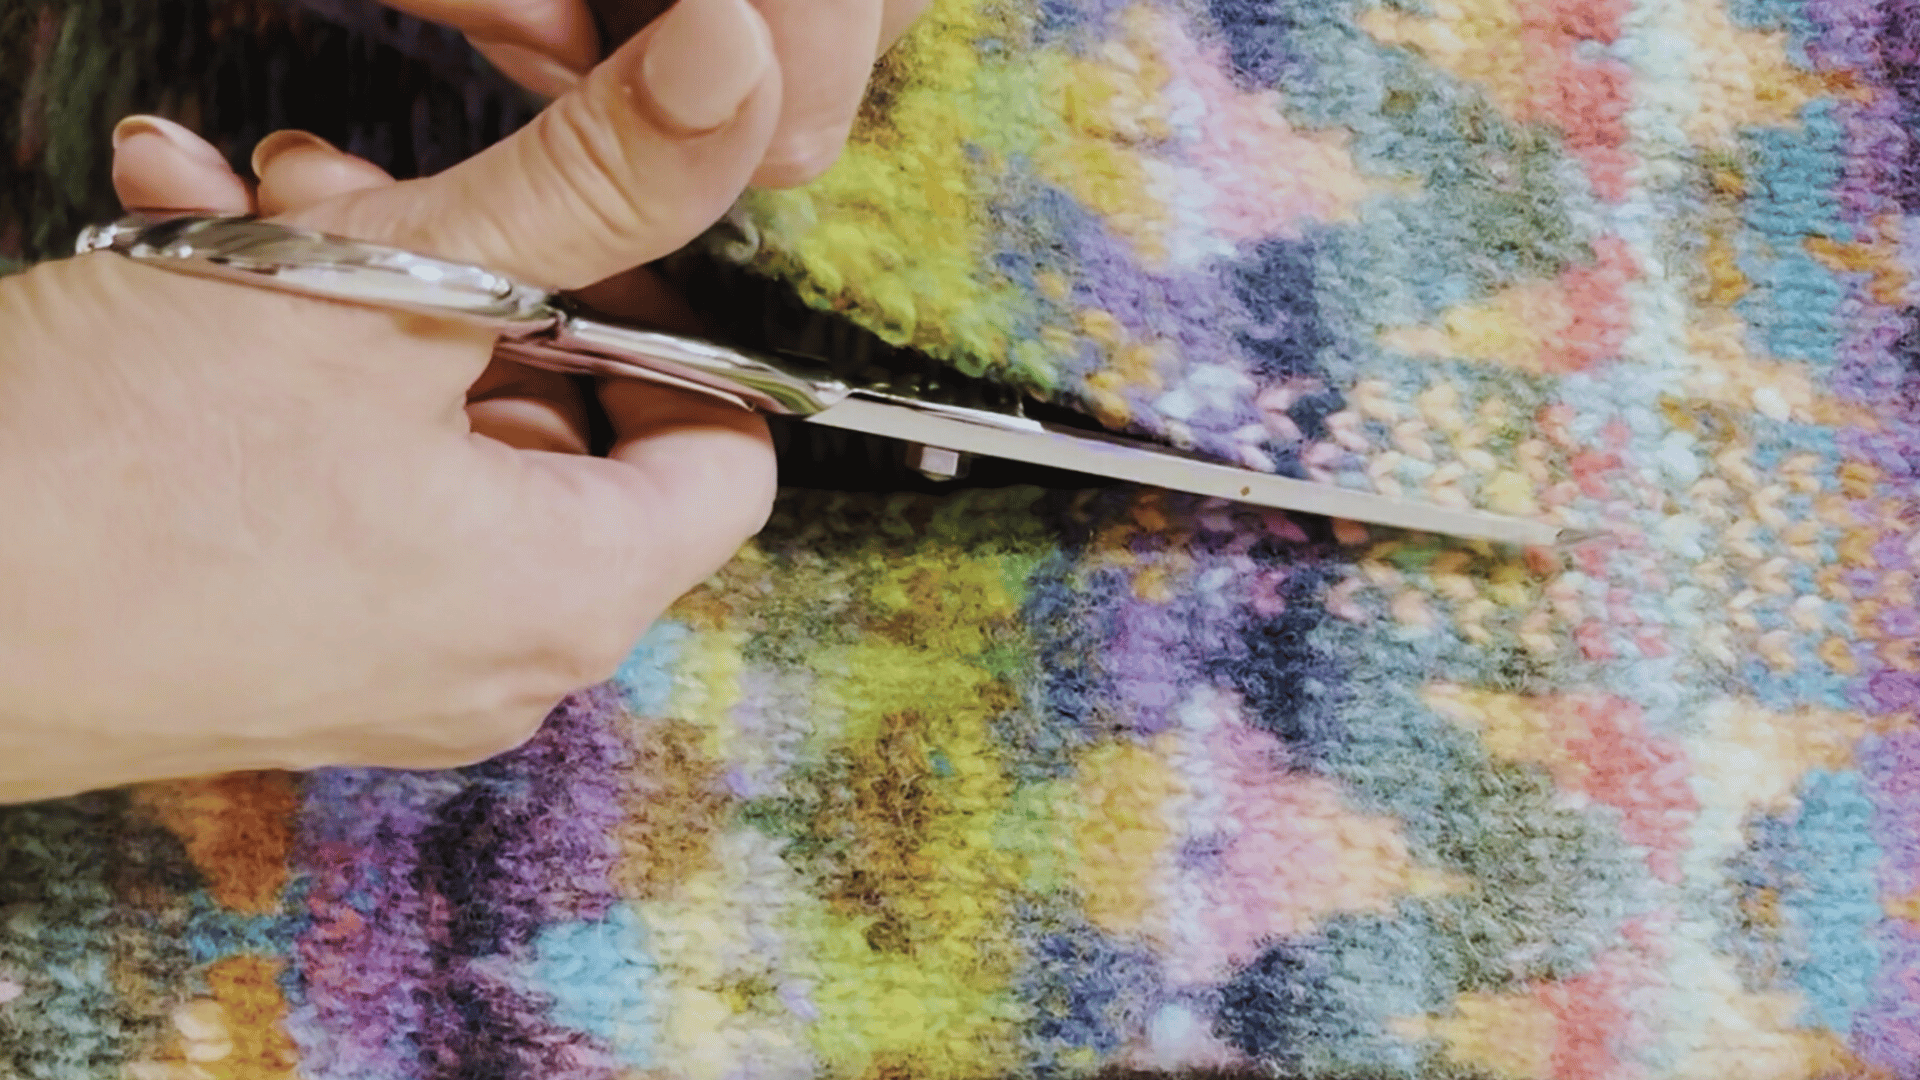
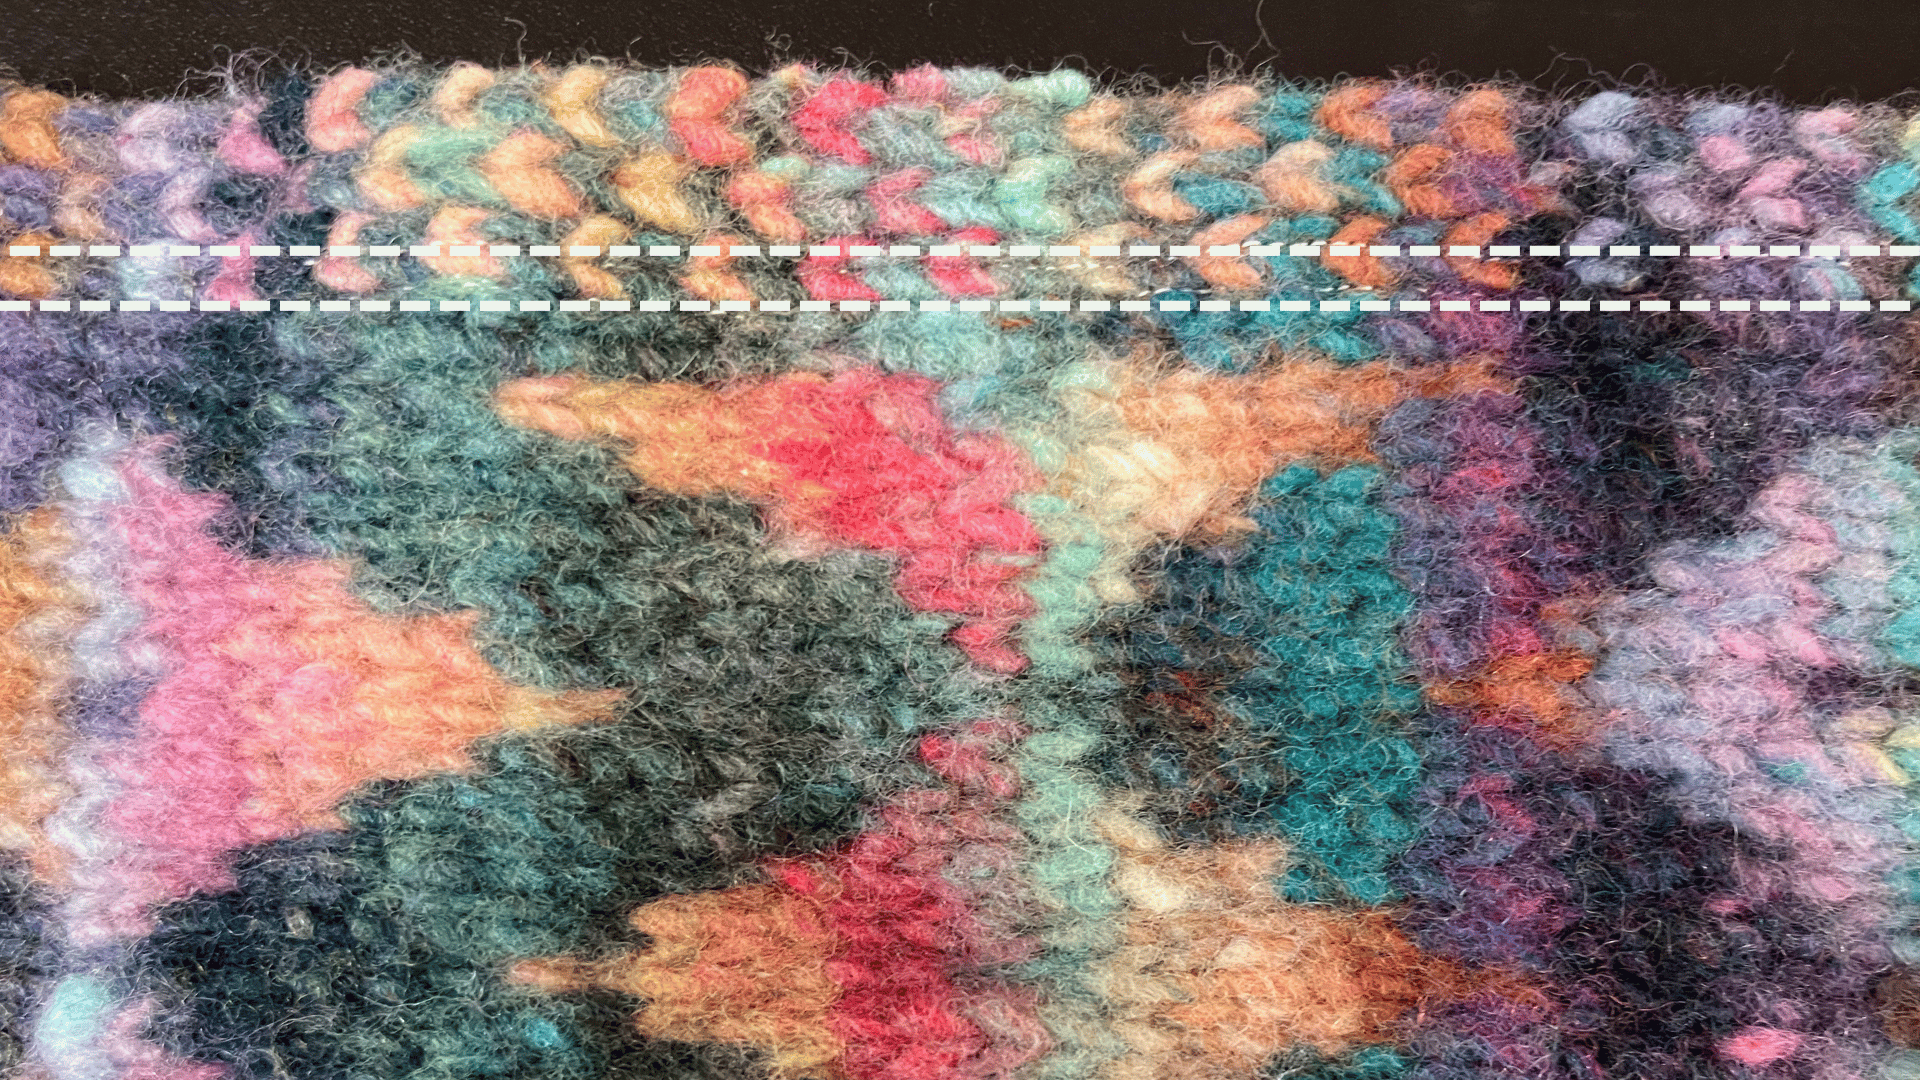
I carefully cut a line through the center of the steeked stitches, and no, I didn't need to go and lie down in a darkened room afterward.
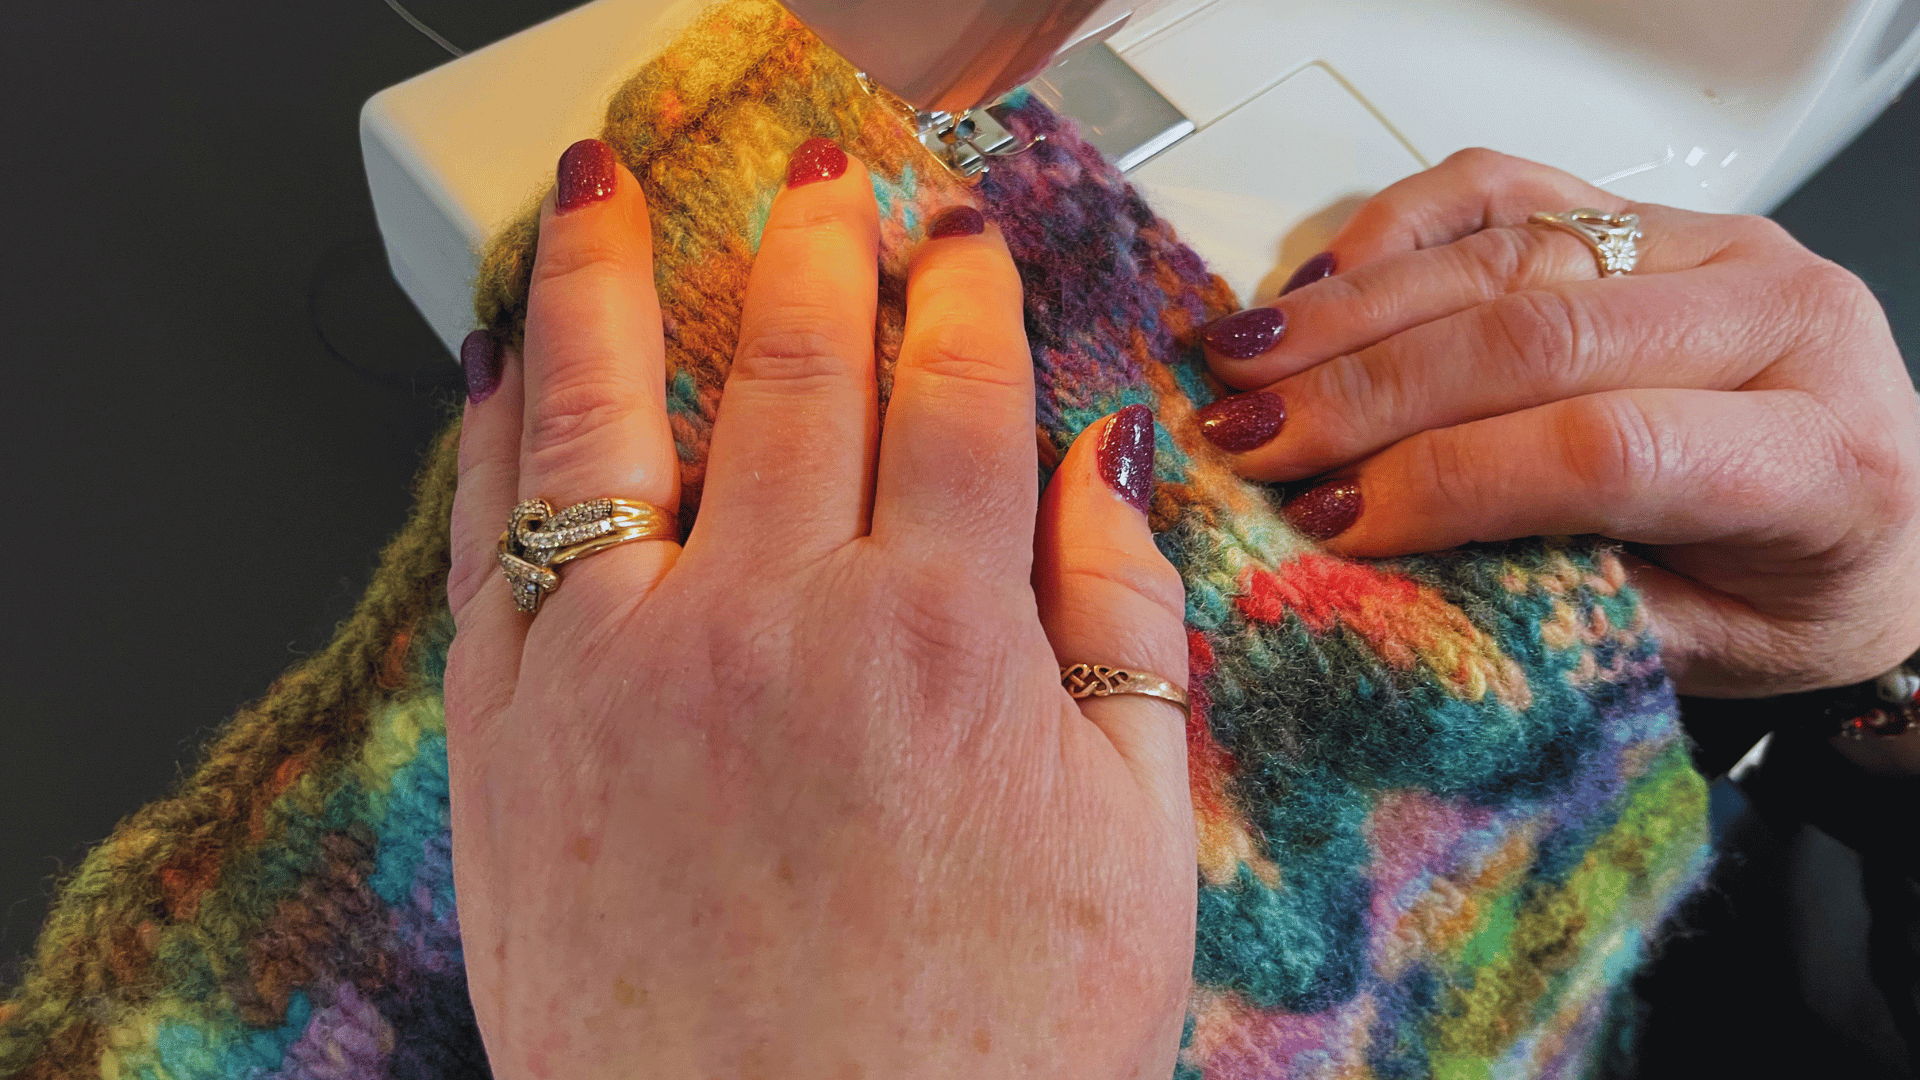
Next, I brought out my sewing machine. You don't need anything fancy; I used my bottom-of-the-line Singer. After sewing a line along each side of the steeked area, I added a parallel line through the center of the steeked stitches on both edges.
Afterward, I took out the scissors again and trimmed the steek closely to the outer line of stitching.
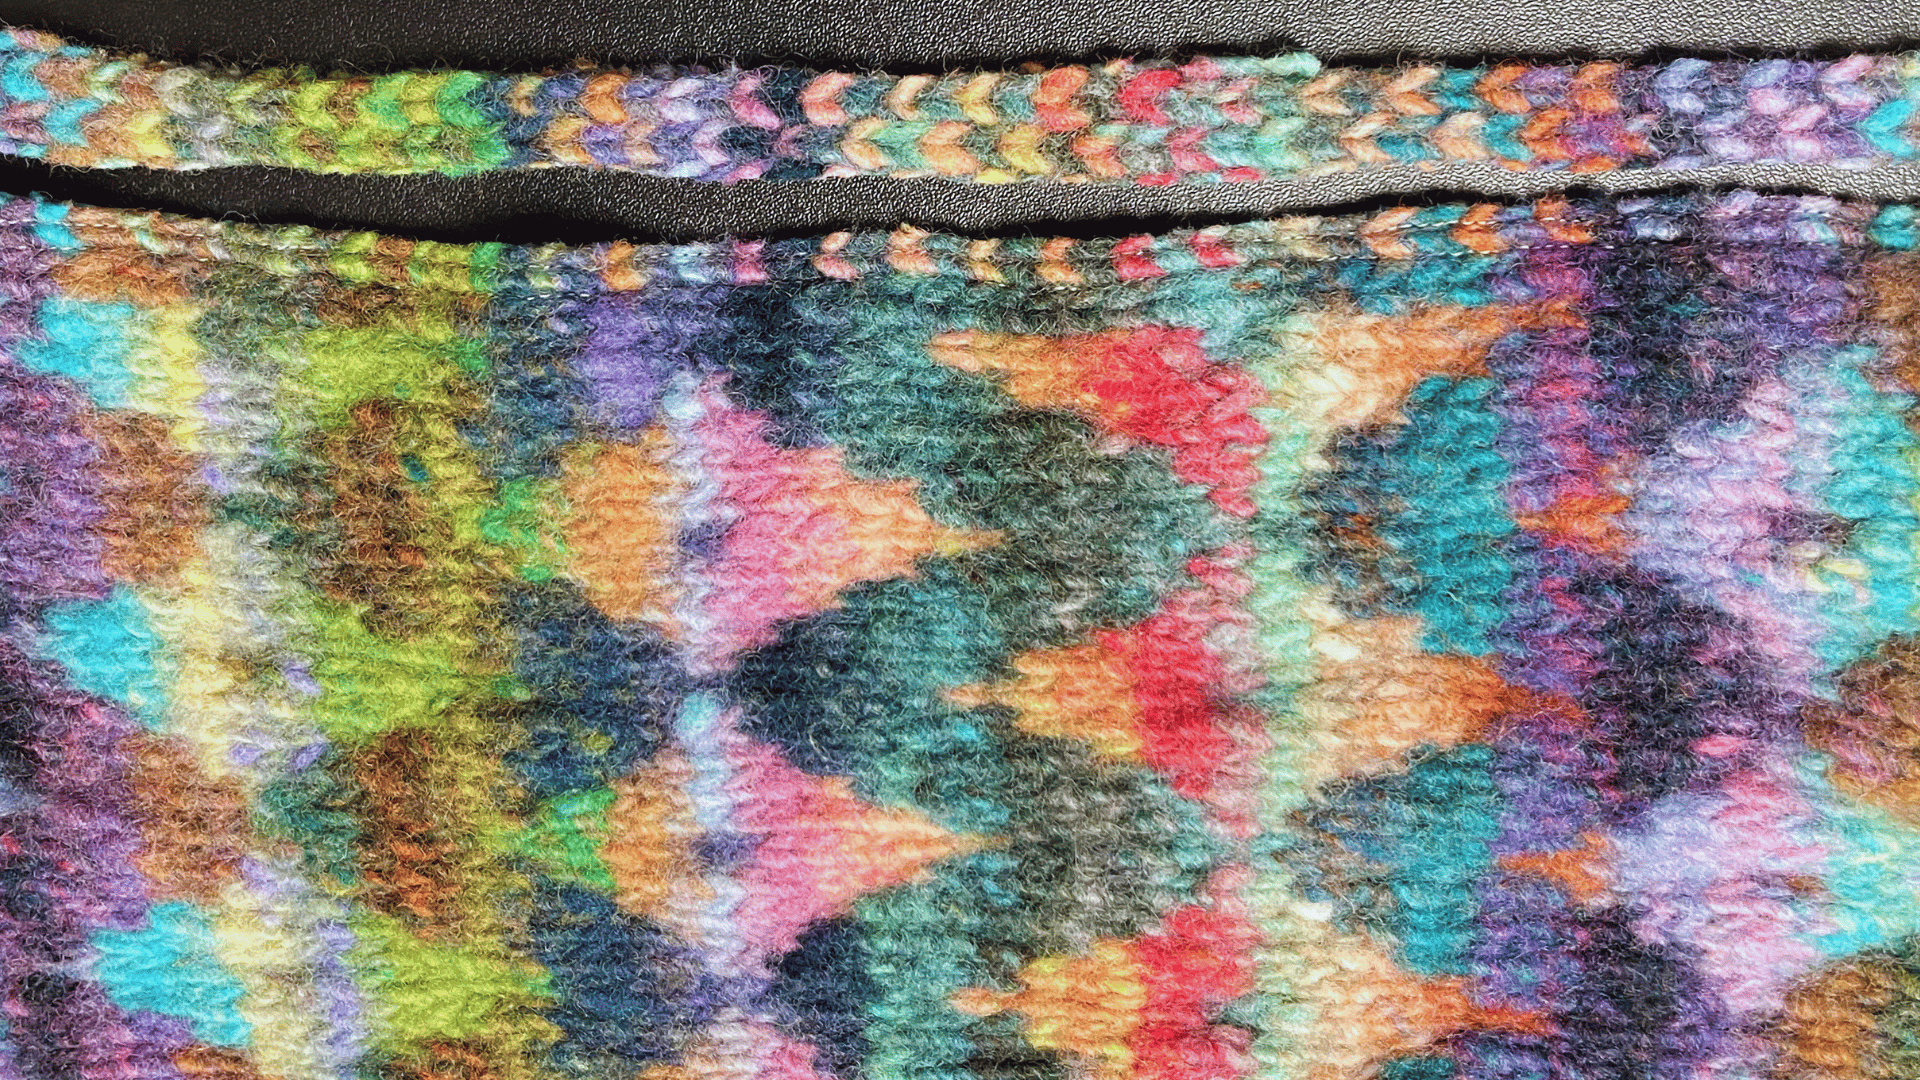
Finally, I added a crochet edging, and just like that, the table rug was complete!
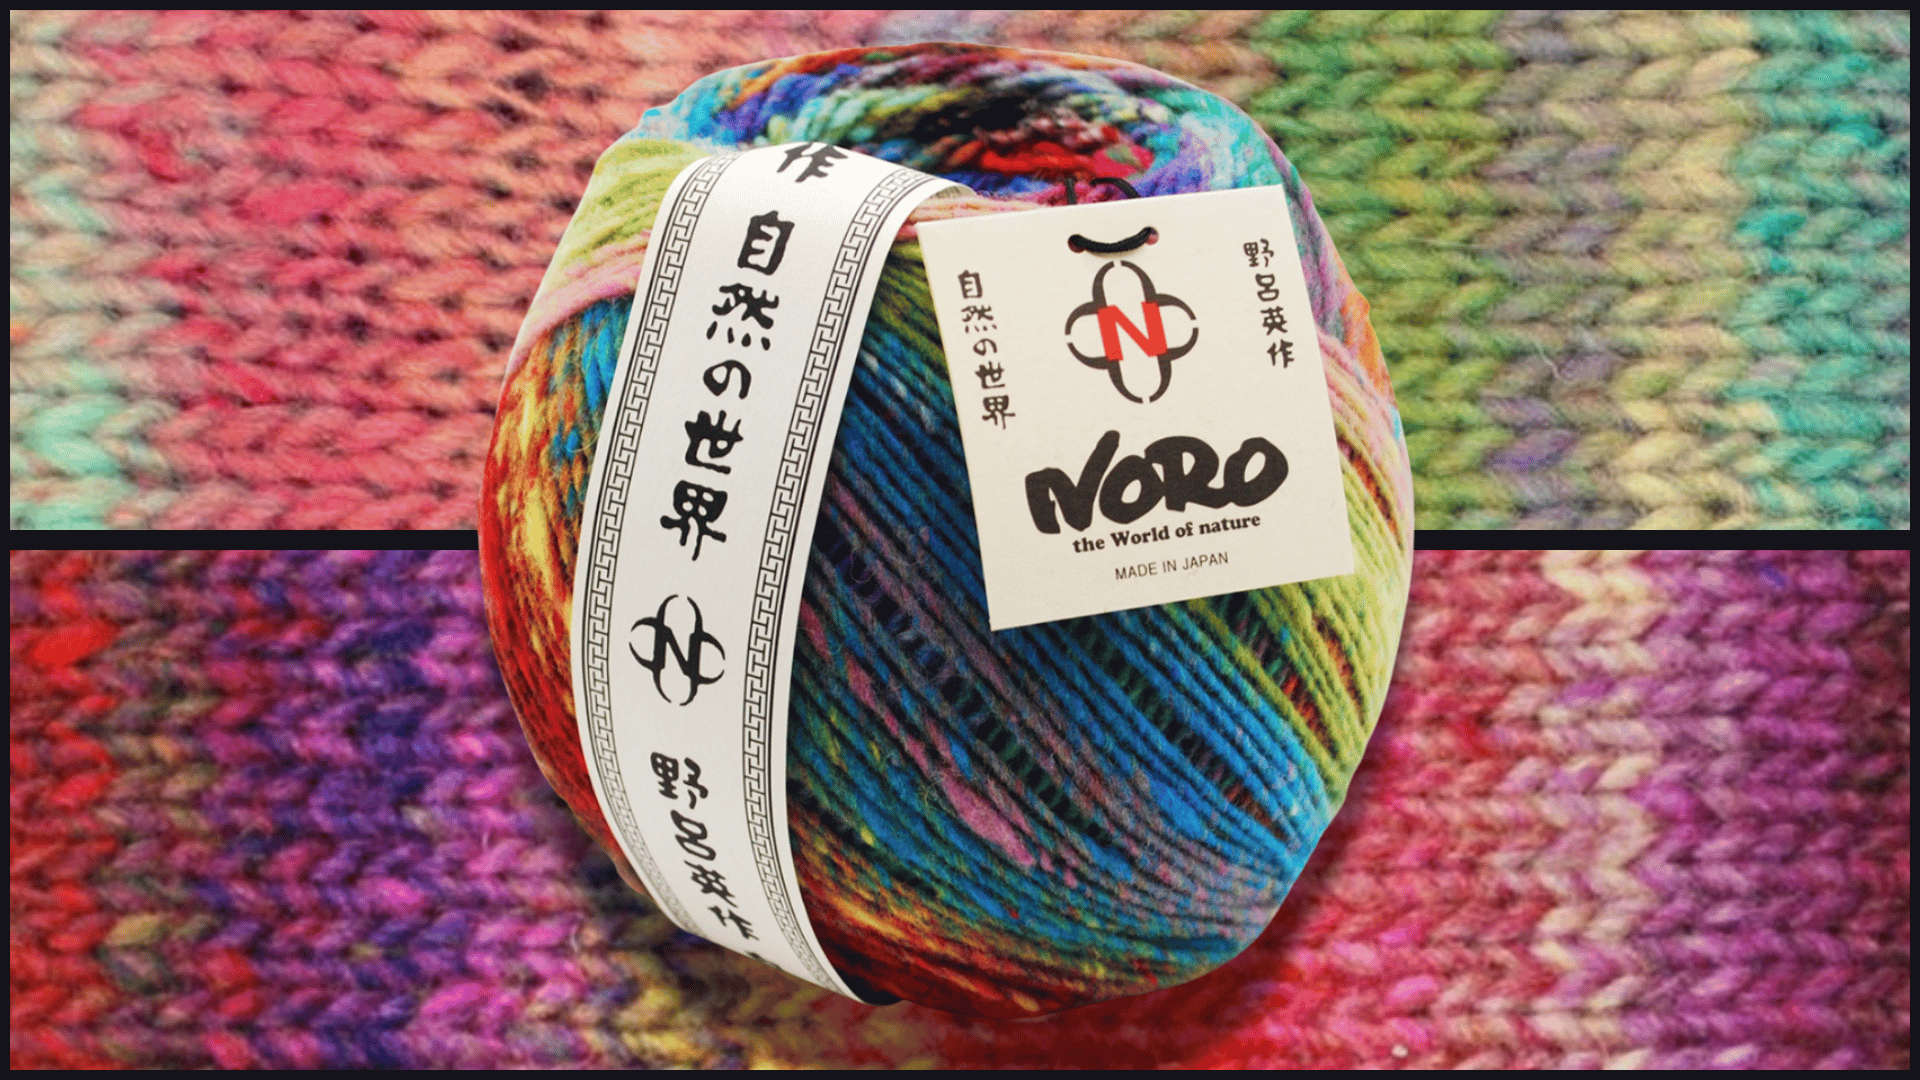
Yes, it seems ridiculous to use two dragon egg balls of Noro Ito to create a hot pad. However, since I use it several times a week and truly enjoy it, I might as well work with something I love. Plus, there's quite a bit left over—perhaps enough to make a second one! This project could also be a delightful way to utilize your leftover Ito.
Are you ready to try steeking? Download your FREE copy of our Fair Isle Table Rug today, courtesy of Sealed with a Kiss.
Leave a comment
Recent articles
View all
Inside the Designer's Studio
Get Connected
Comments