Decode
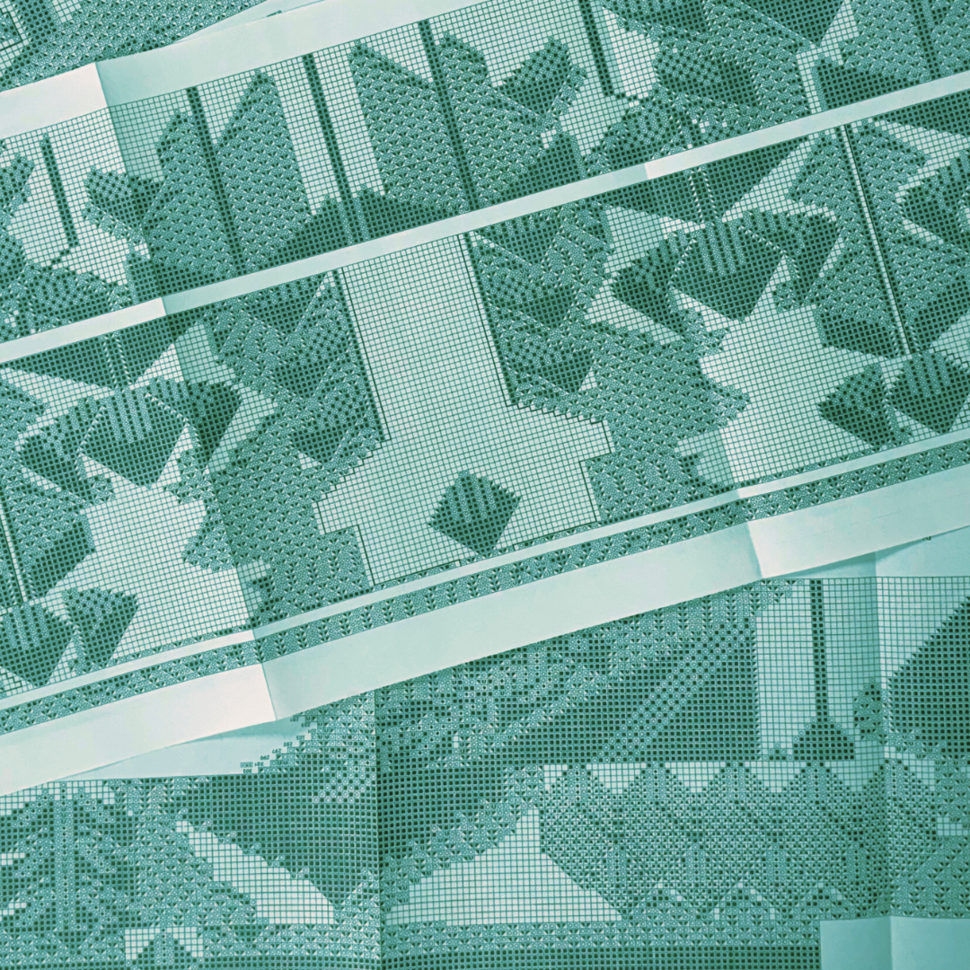
Do pattern charts leave you feeling confused? At first glance, all those boxes and symbols can look intimidating—but you don’t need a secret decoder ring to understand them.
Charts are usually paired with a written pattern. Some patterns include both written and charted instructions, while others use a chart in place of certain written sections, particularly when a visual representation makes the instructions much clearer.
I like to think of the difference as a picture book versus a word jumble.
Designers generally aren’t creating stitch patterns by imagining long strings of words and abbreviations. Stitch patterns and shaping are often visualized first, then translated into written instructions. A chart lets you see that structure. Without it, it can sometimes be nearly impossible to picture what all those written instructions are actually creating.
Meet Symbolcraft
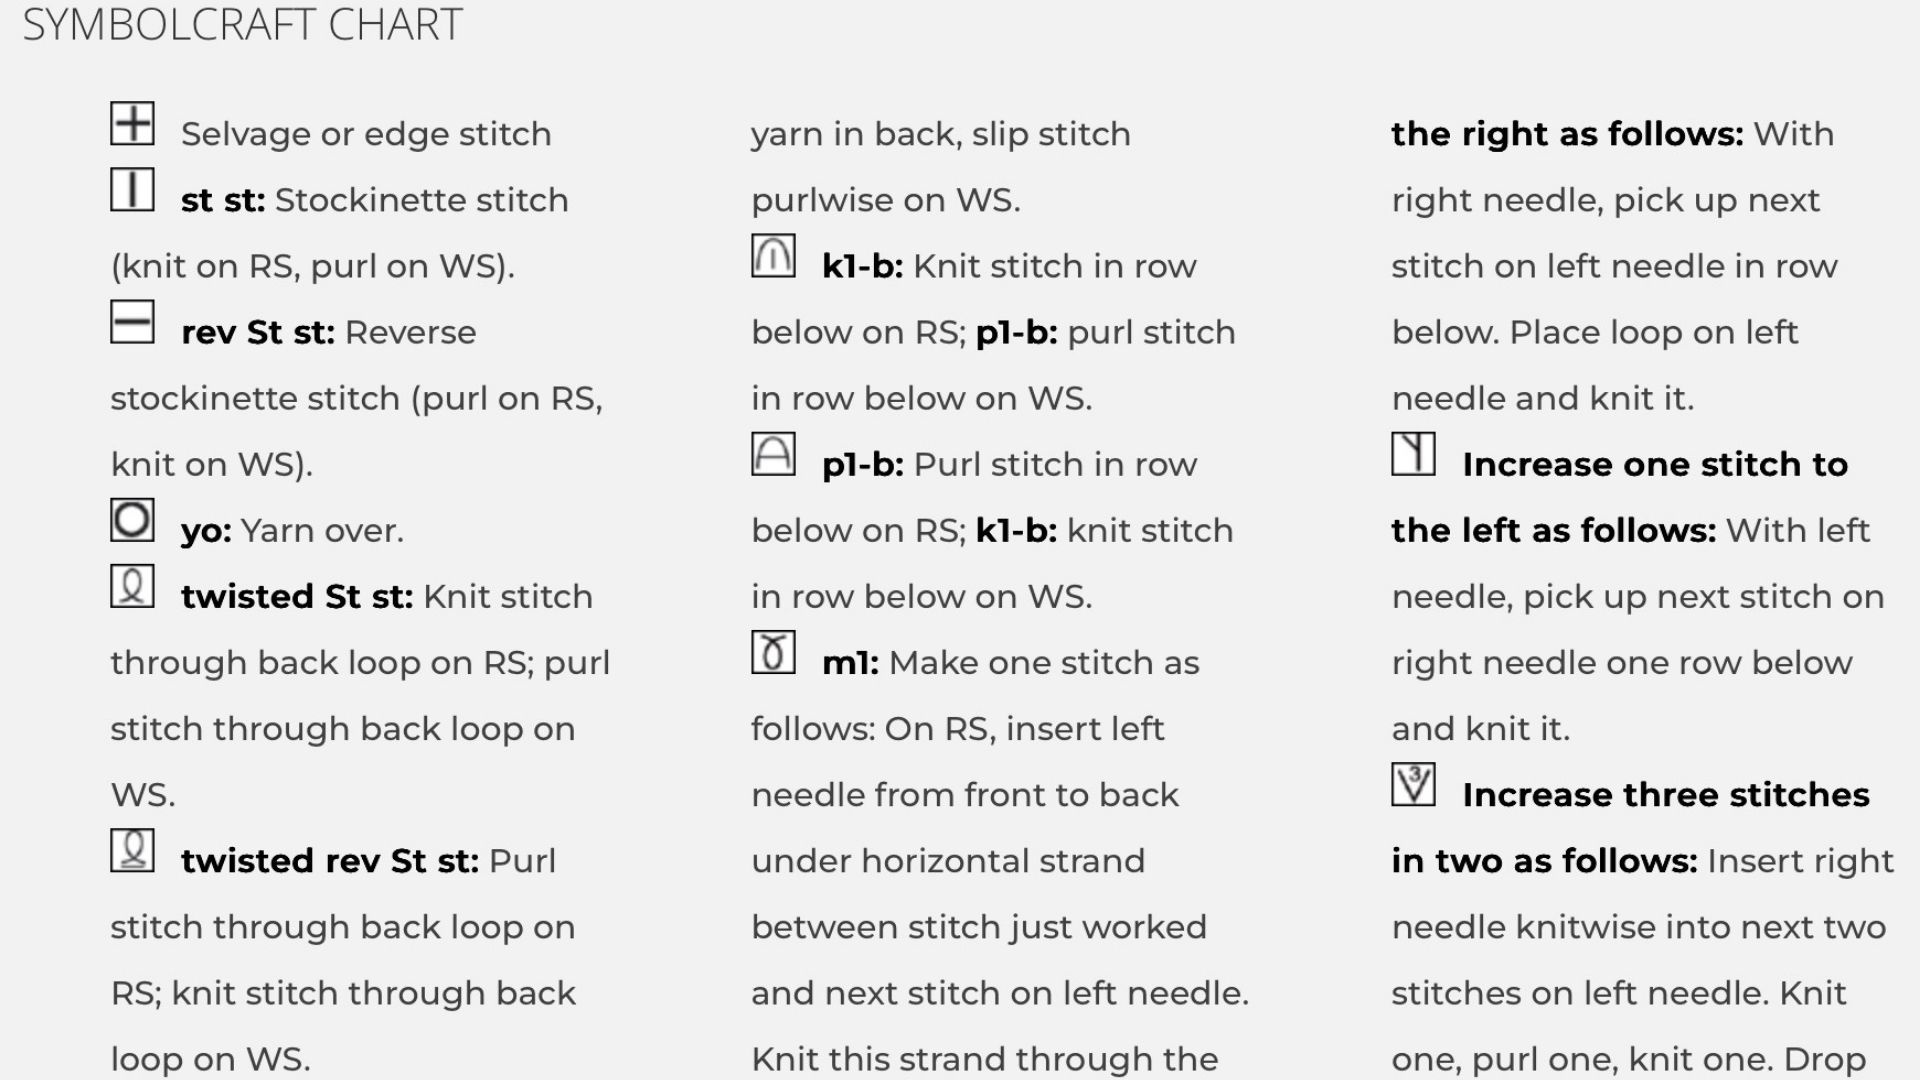
The technical term for charted instructions is Symbolcraft—a system that uses symbols rather than words to communicate stitches and techniques.
Words can vary between regions, cultures, languages, and even time periods. Symbols provide a more universal way of communicating what should happen in your work.
If you want to expand your knitting or crochet skills, becoming comfortable with charts is a very useful step. So let’s decode them.
Reading a Knitting Chart
Knitting charts are arranged on a grid. Each square generally represents a stitch, while each horizontal line represents a row or round.
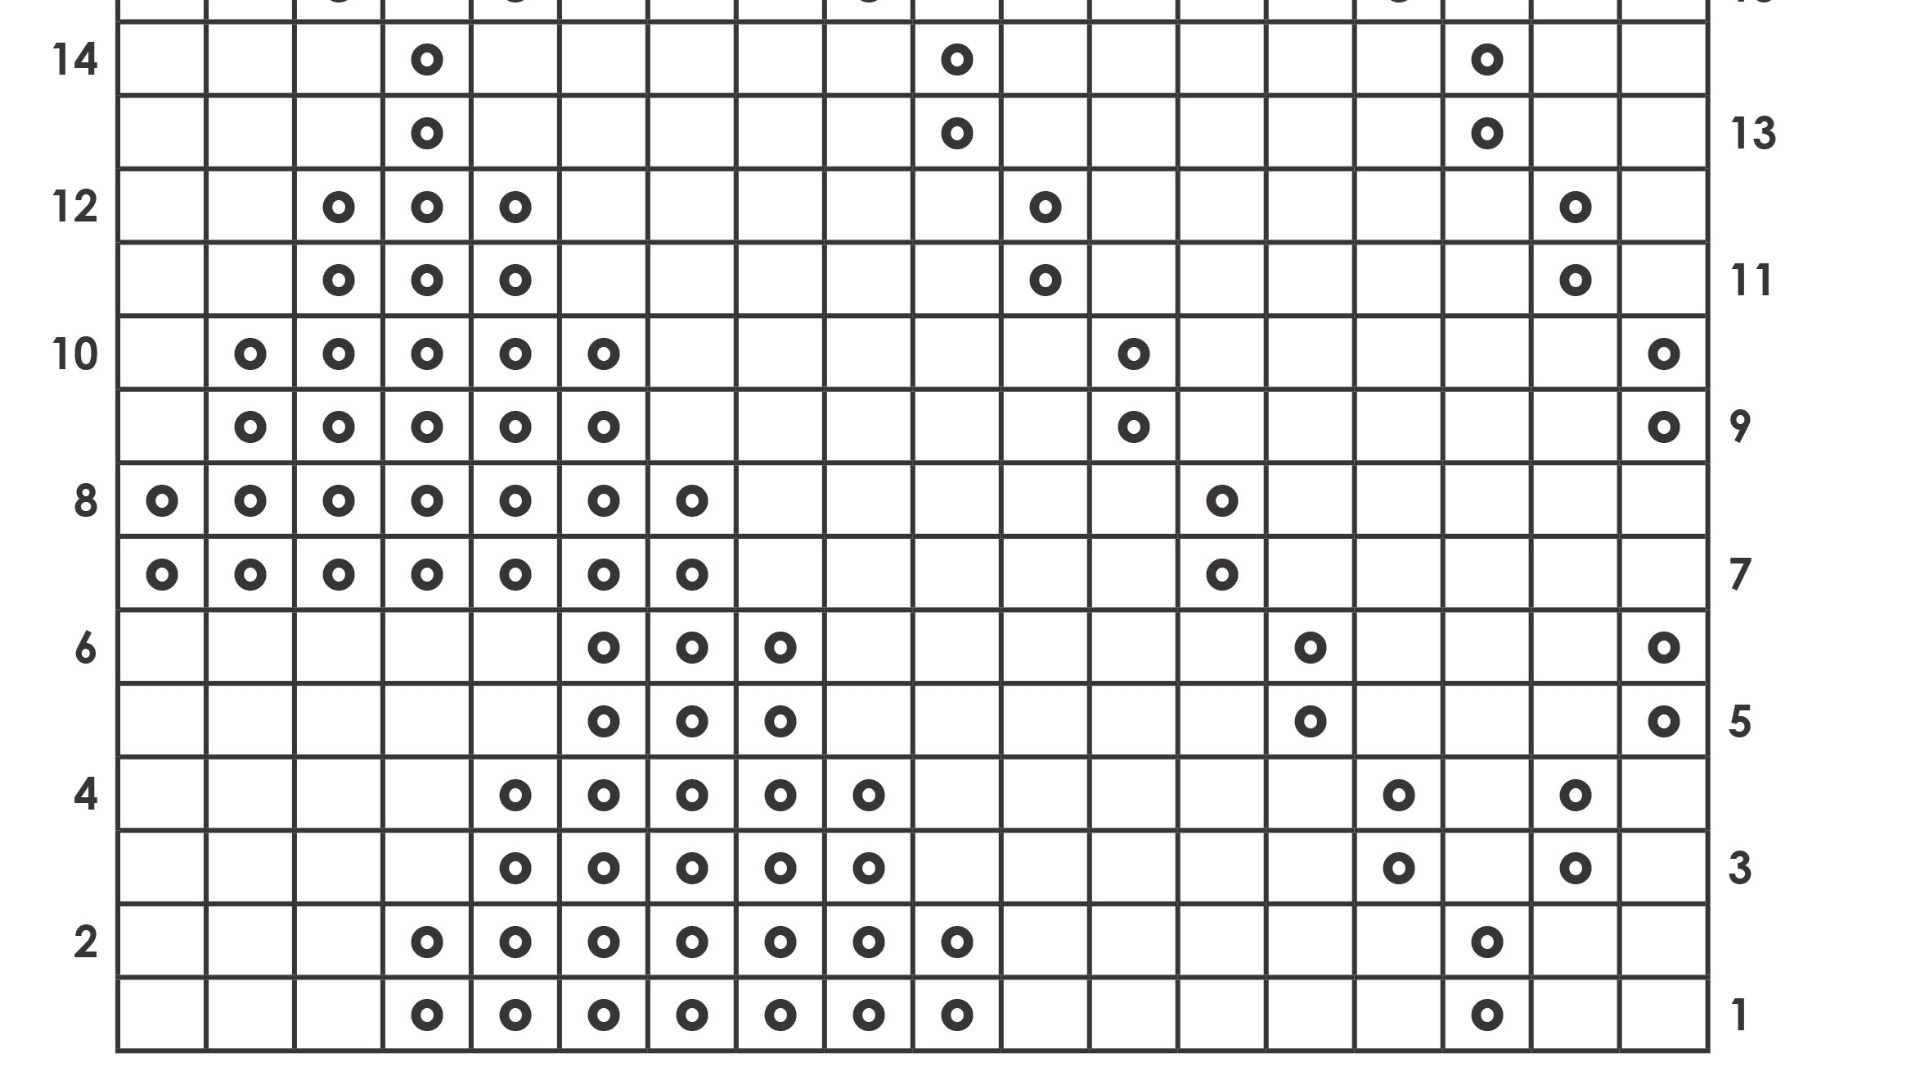
Symbols within the squares tell you what to do, and you’ll typically find a symbol key somewhere in the pattern instructions.
The Craft Yarn Council has standardized many commonly used knitting symbols, but designers do occasionally use variations. Always check the key provided with your particular pattern before beginning.
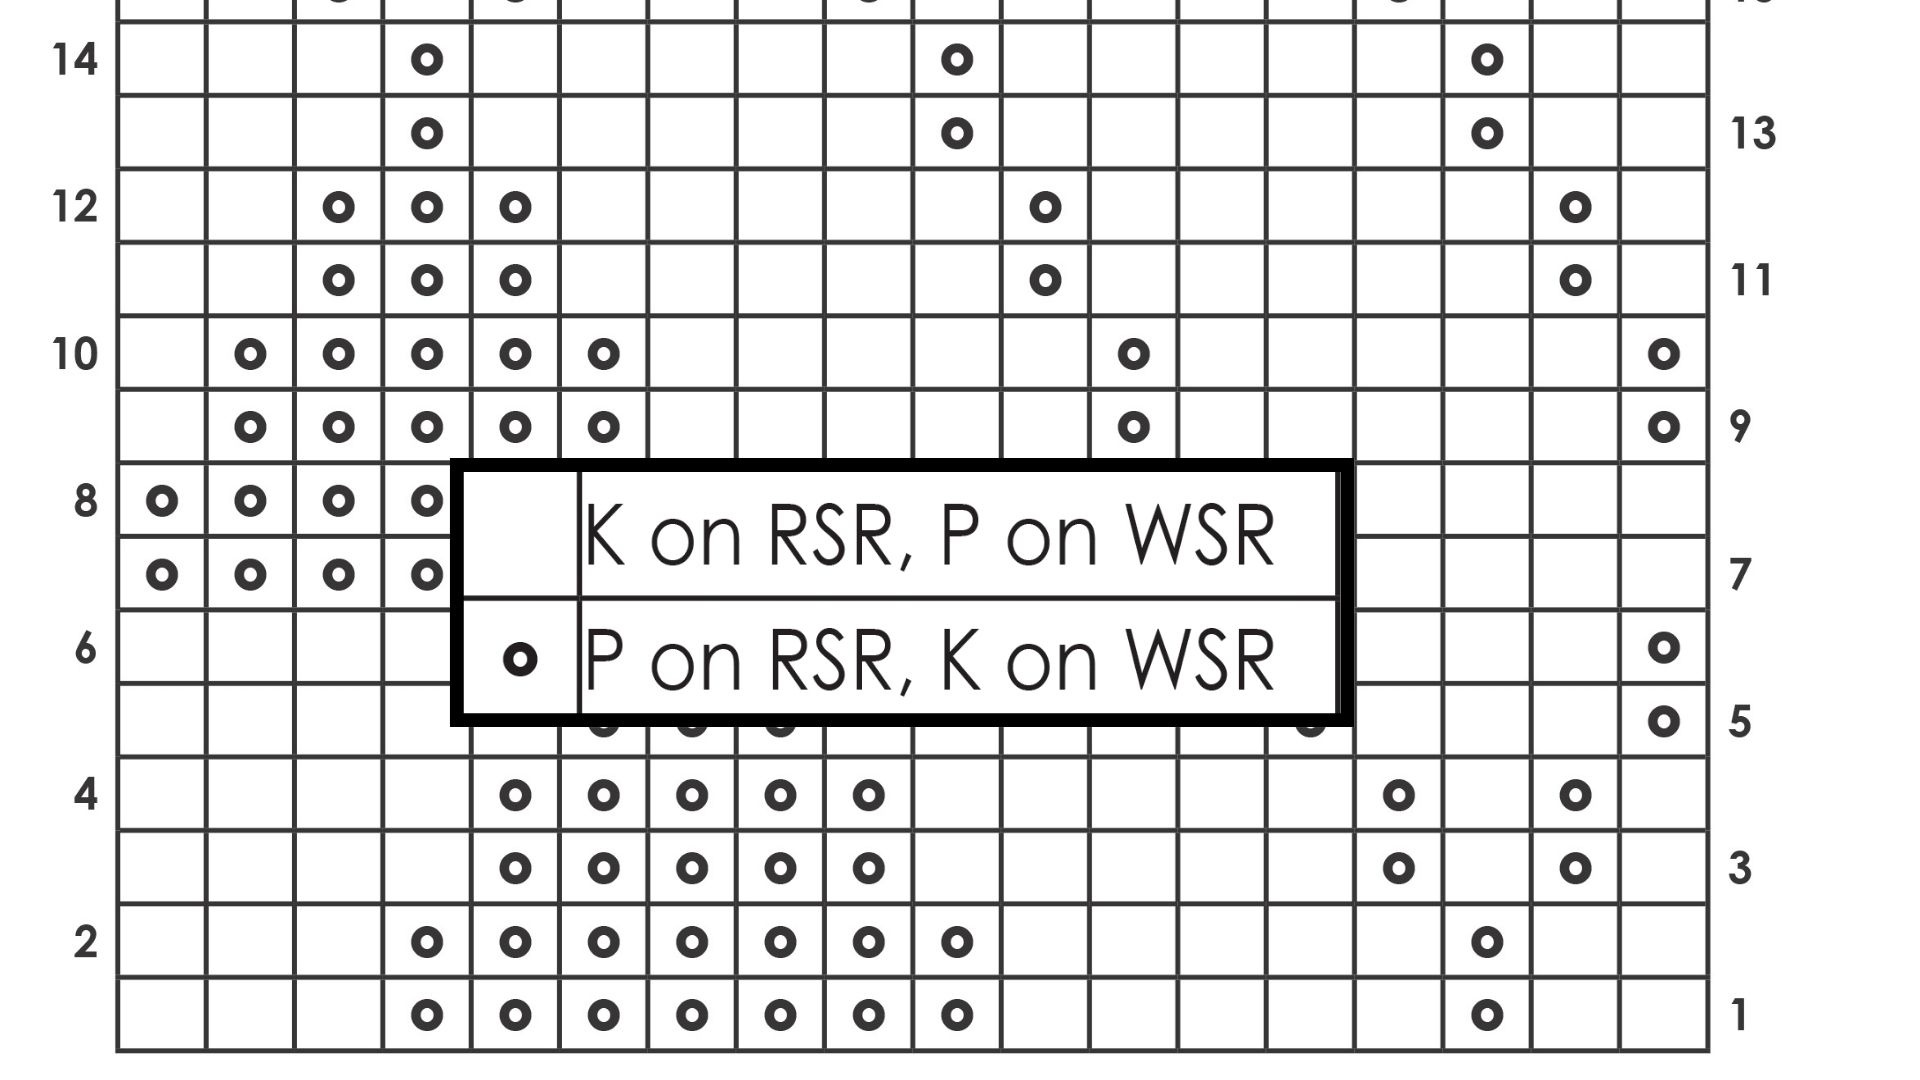
One of the most important things to remember is that a knitting chart represents your work as you see it from the right side.
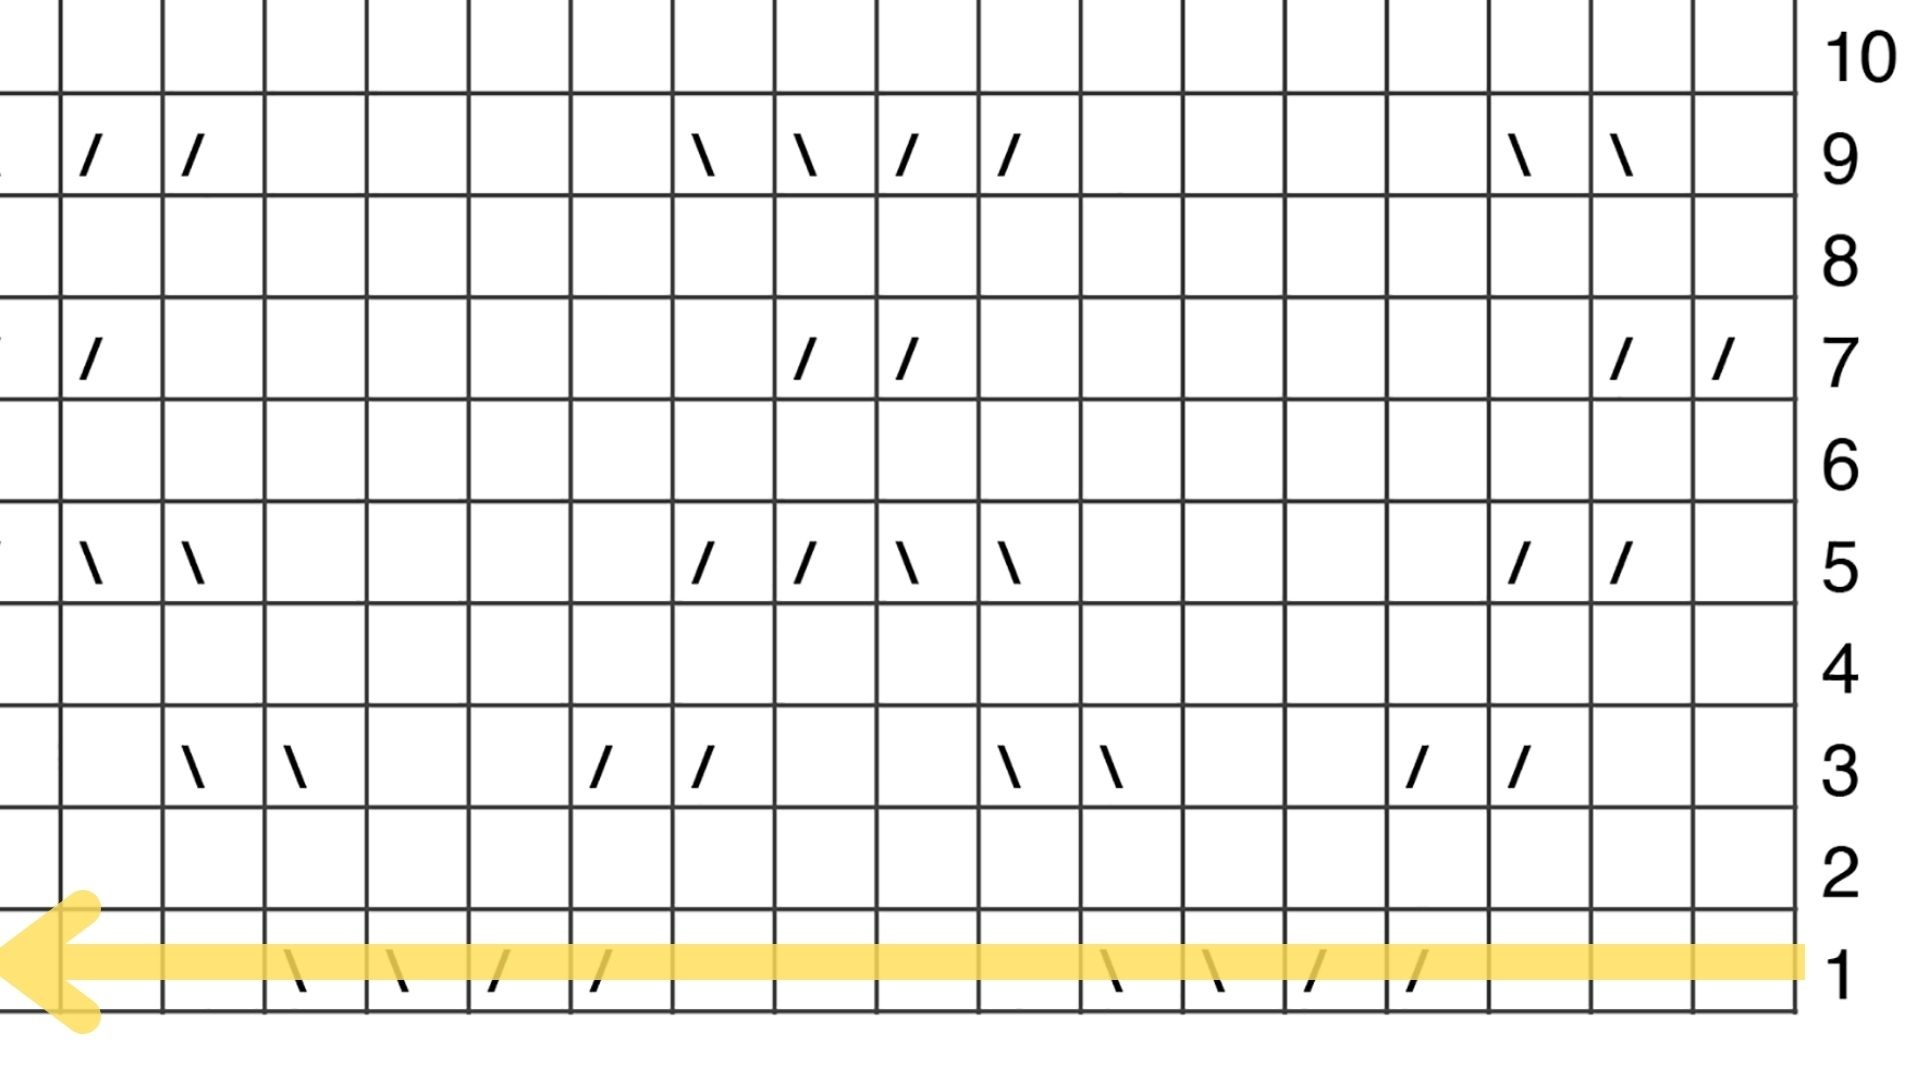
You begin at the bottom of the chart and work upward.
When knitting flat:
-
Right-side rows are read from right to left.
-
Wrong-side rows are read from left to right.
The wrong-side rows are where chart reading can become a little tricky.
Because the chart shows your work from the right side, a symbol representing a knit stitch may need to be worked as a purl when you encounter it on the wrong side—and vice versa. Your chart key should tell you how each symbol is worked on right- and wrong-side rows.
If you find yourself continually forgetting which direction you’re traveling or which rows are wrong-side rows, try highlighting them on your chart. Sometimes a very simple visual reminder makes everything click.
Charts in the Round
Charts become even easier when you’re knitting in the round.
Because the right side of your work is always facing you, every round is generally read from right to left, and there’s no need to reverse the stitches on alternate rows.
You may also see darker lines or boxes within the grid. These often indicate a repeating section of the stitch pattern or help distinguish instructions for different sizes.
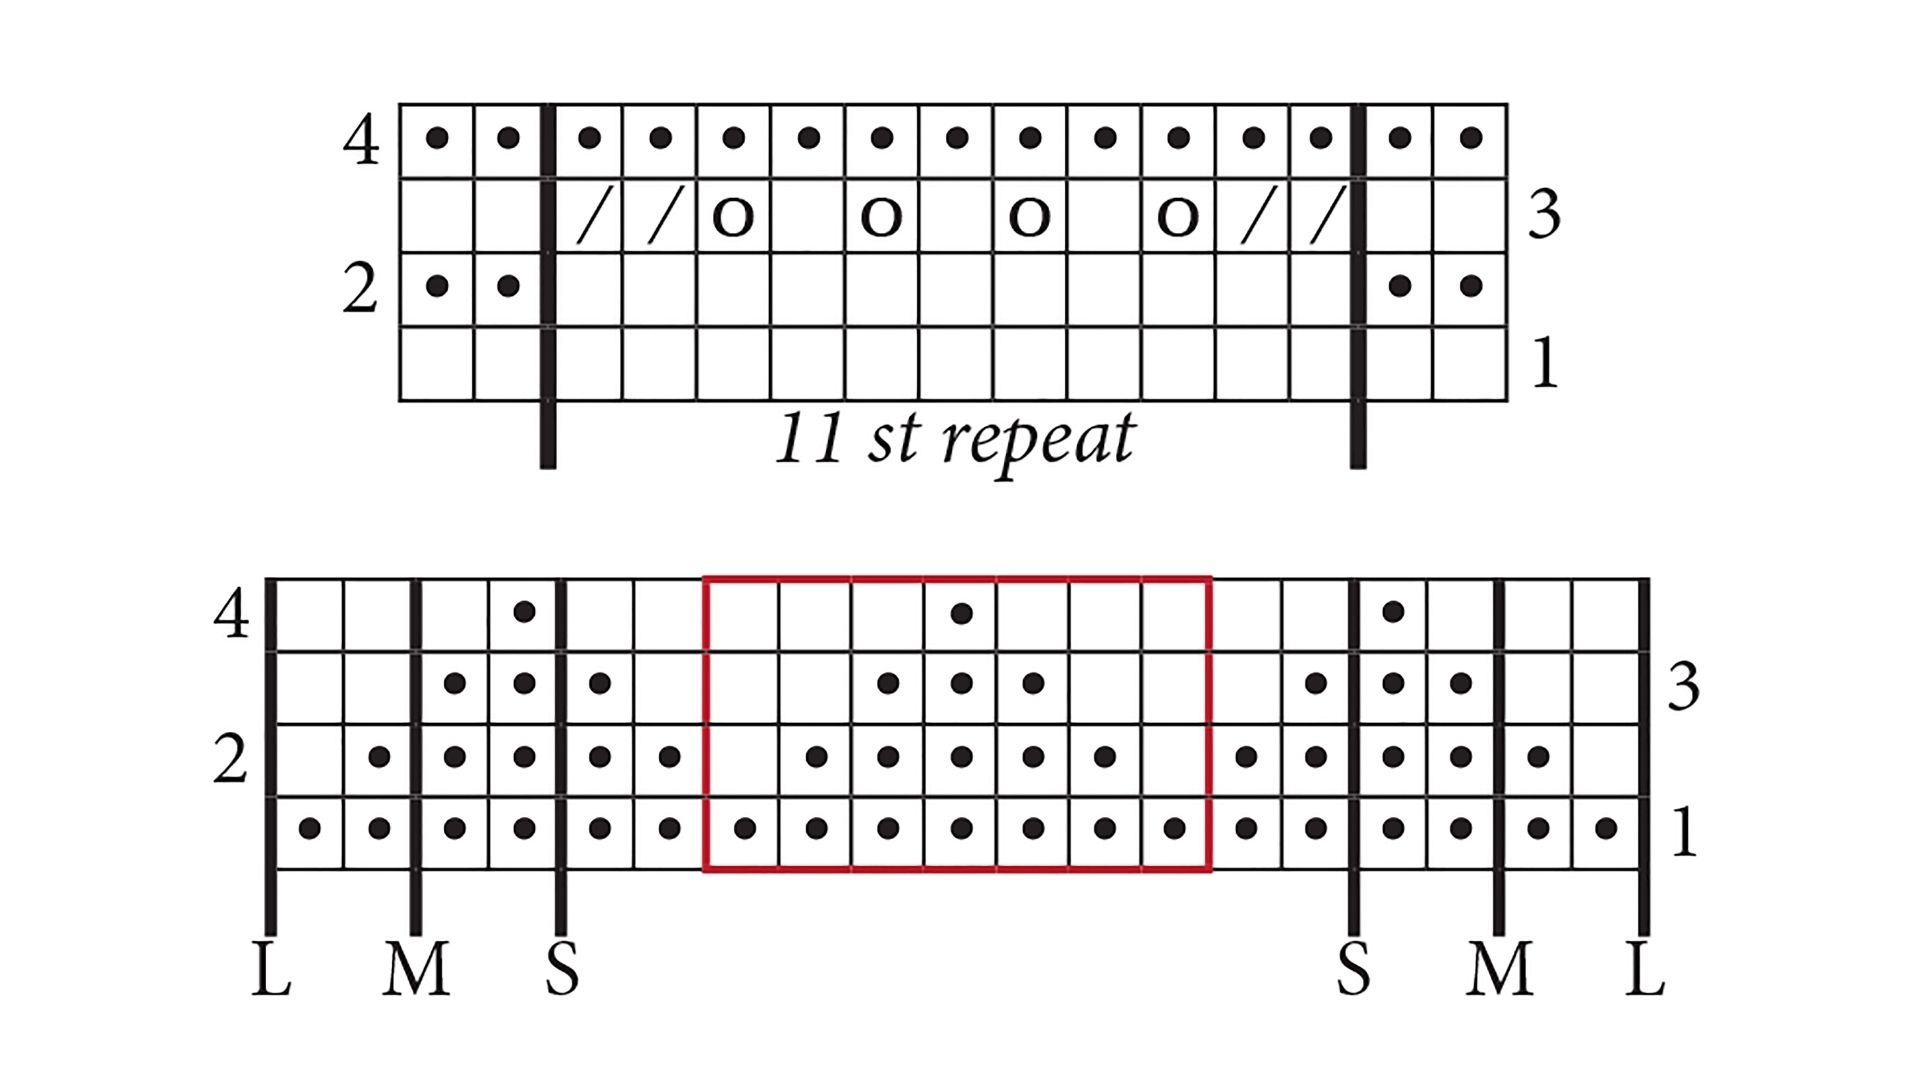
Occasionally, a knitting chart will show only the right-side rows.
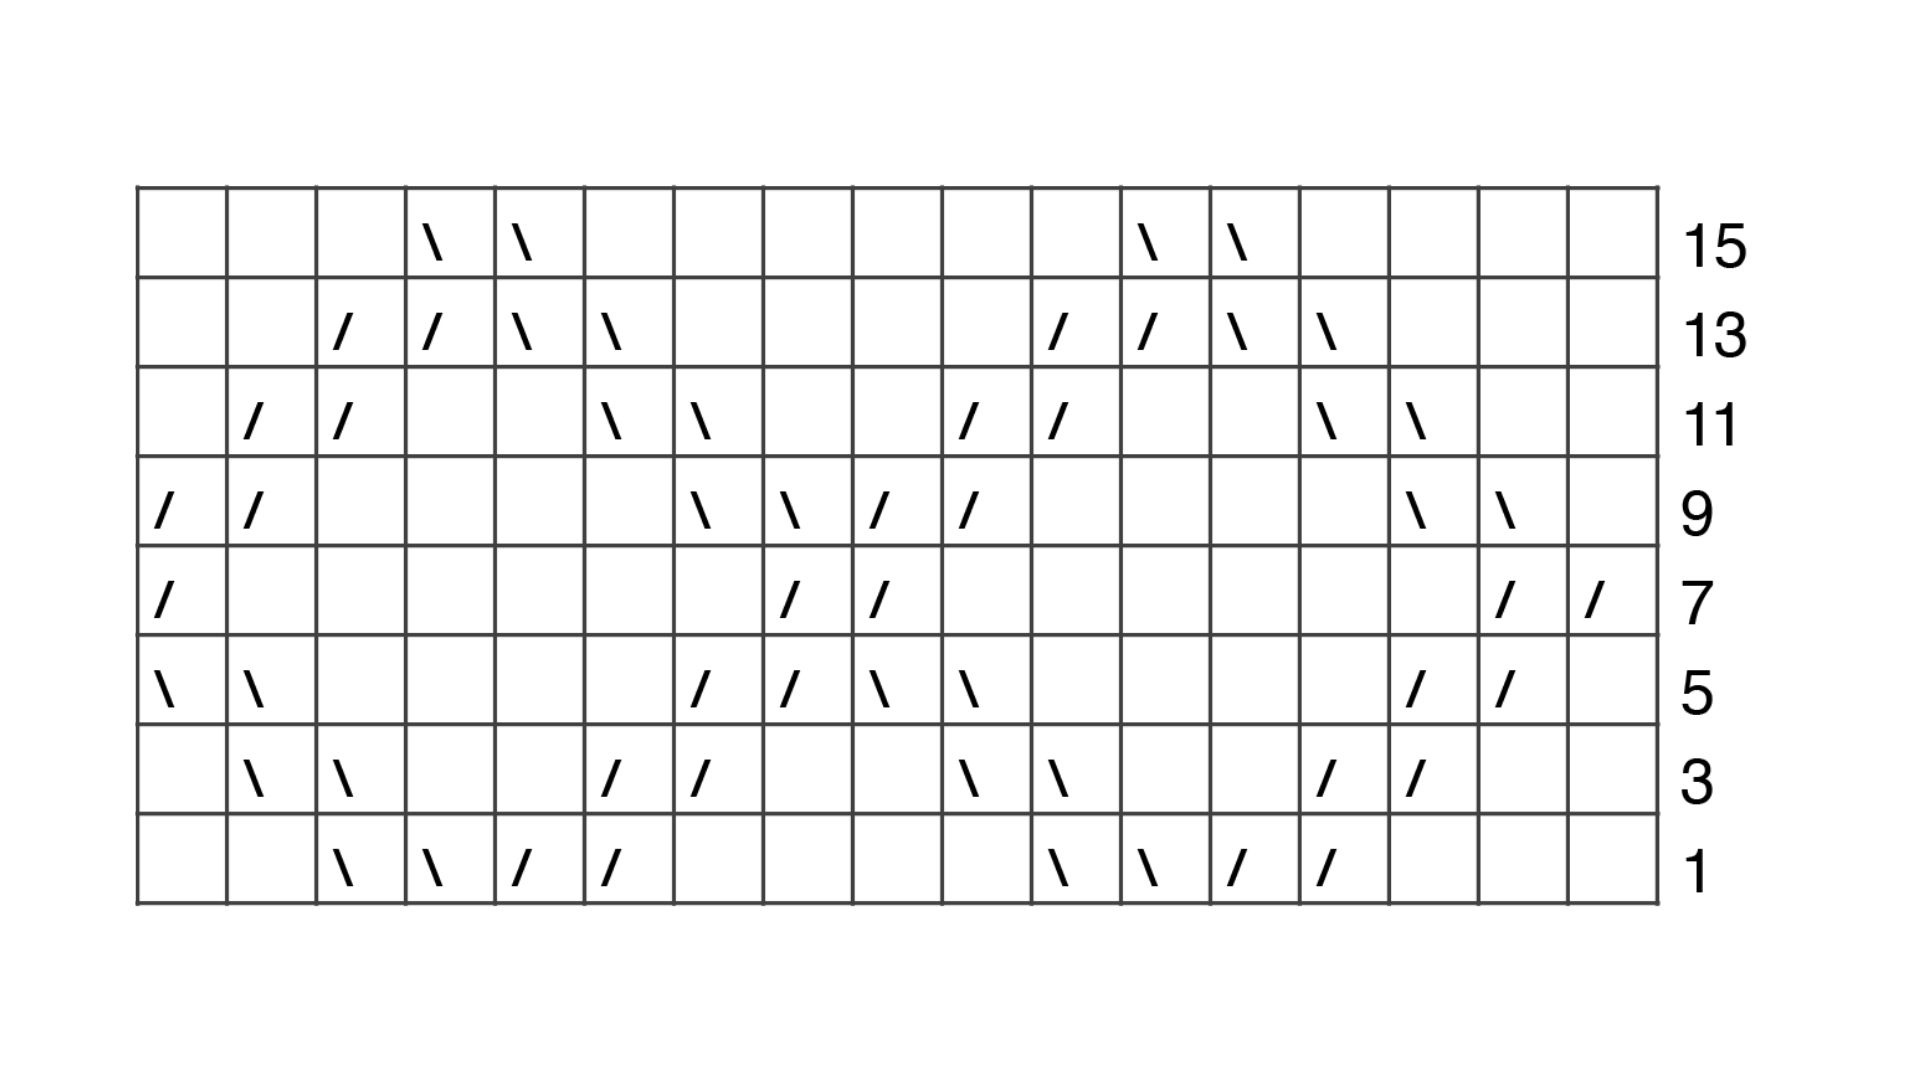
When that happens, the written instructions should explain how the wrong-side rows are worked. Frequently, those rows are simply worked entirely in knit or purl stitches.
What About “No Stitch”?
Charts become more interesting when shaping or changing stitch counts are involved.
You may encounter squares that are blacked out or marked no stitch.
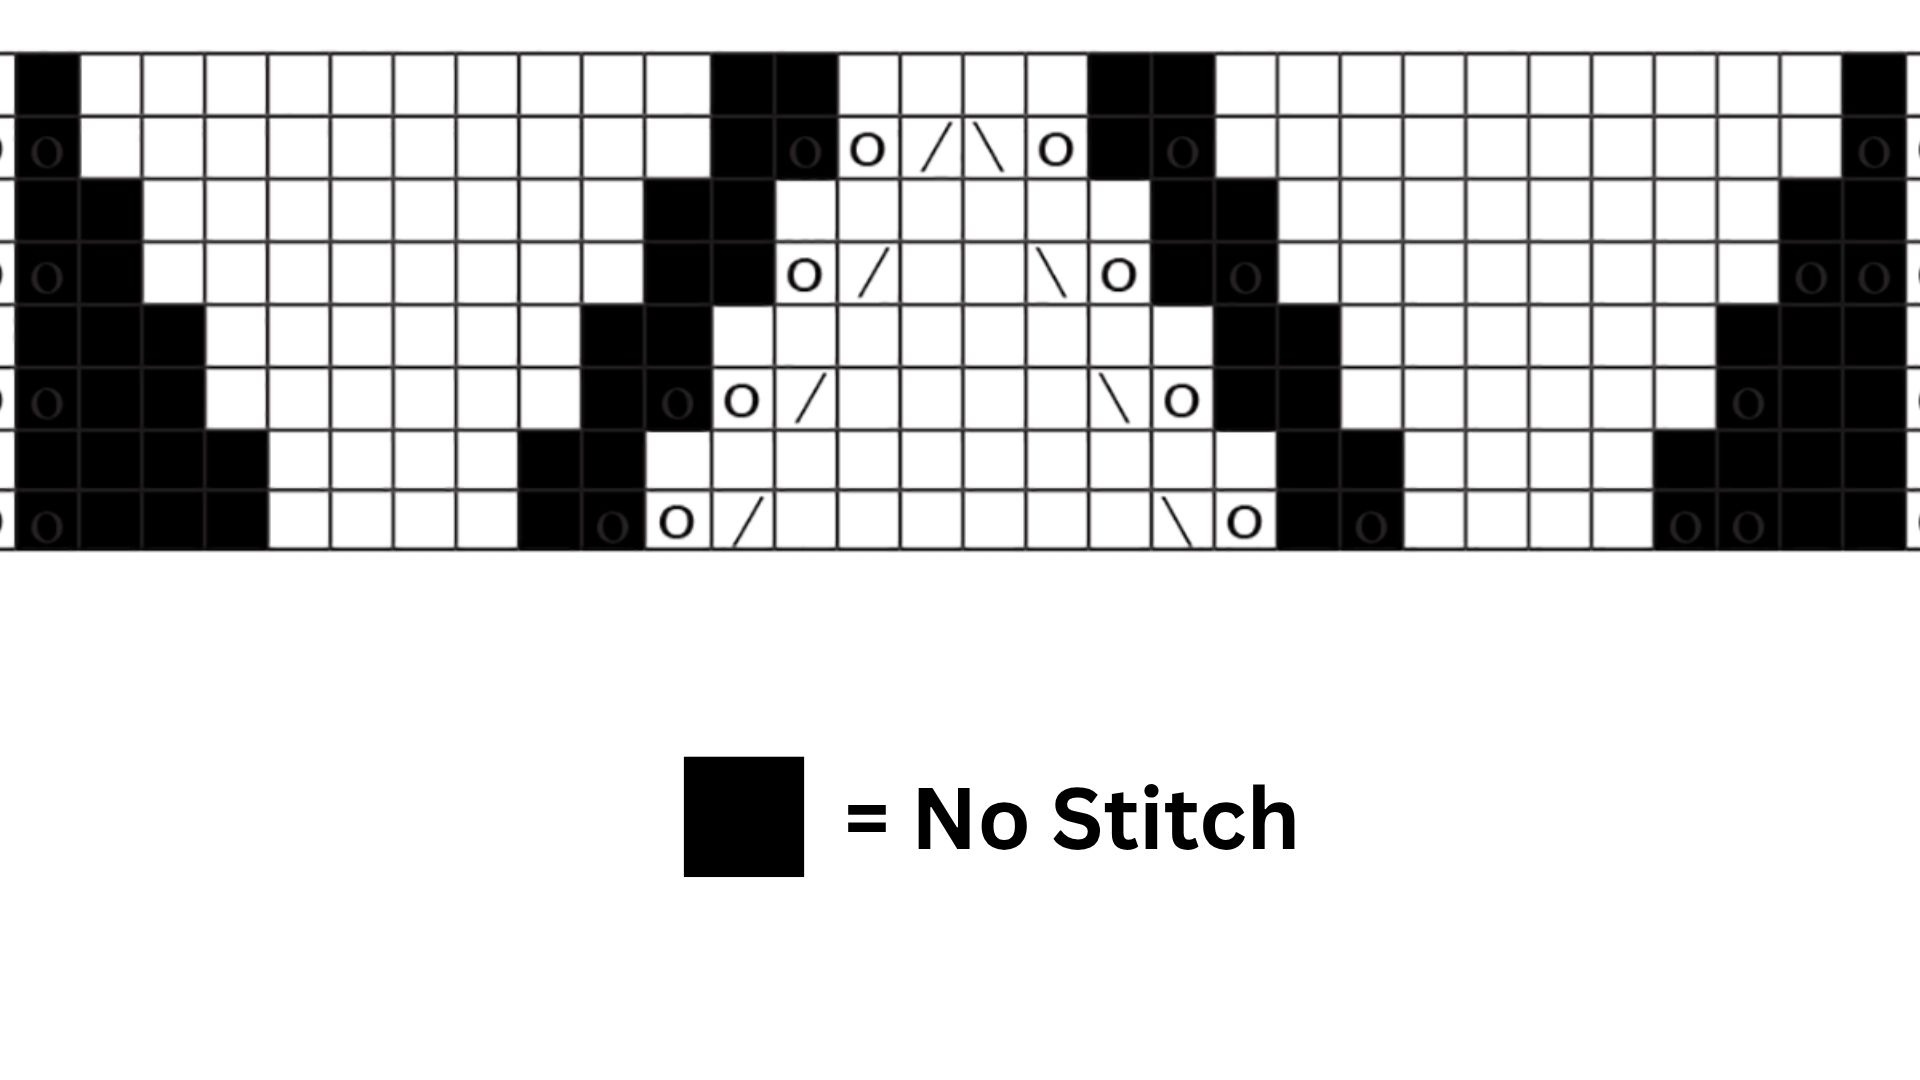
These squares are placeholders only. They do not represent an actual stitch on your needle, so simply skip over them and continue to the next symbol.
Likewise, the edges of a chart may expand or contract as stitches are increased or decreased to shape your work.
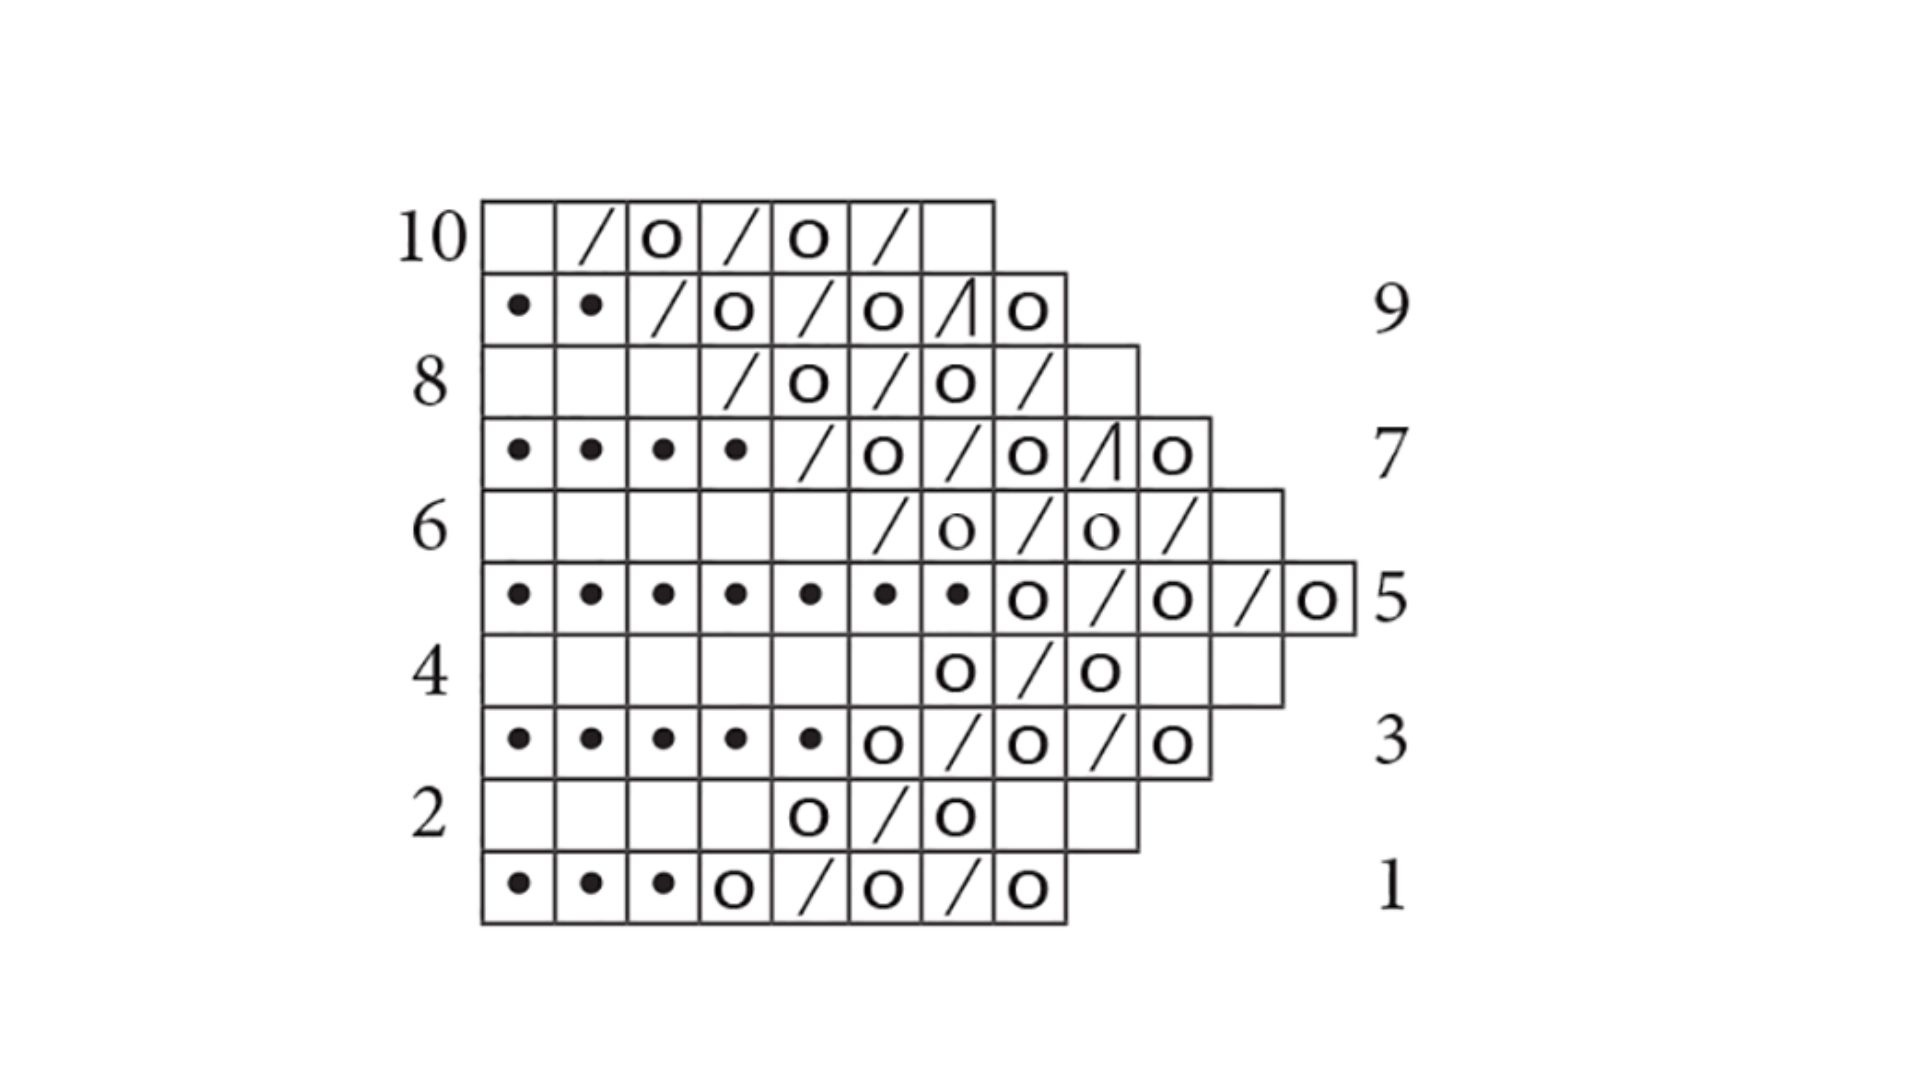
Don’t let the overall chart intimidate you. You never have to work the entire chart at once.
Just read one square and one row at a time.
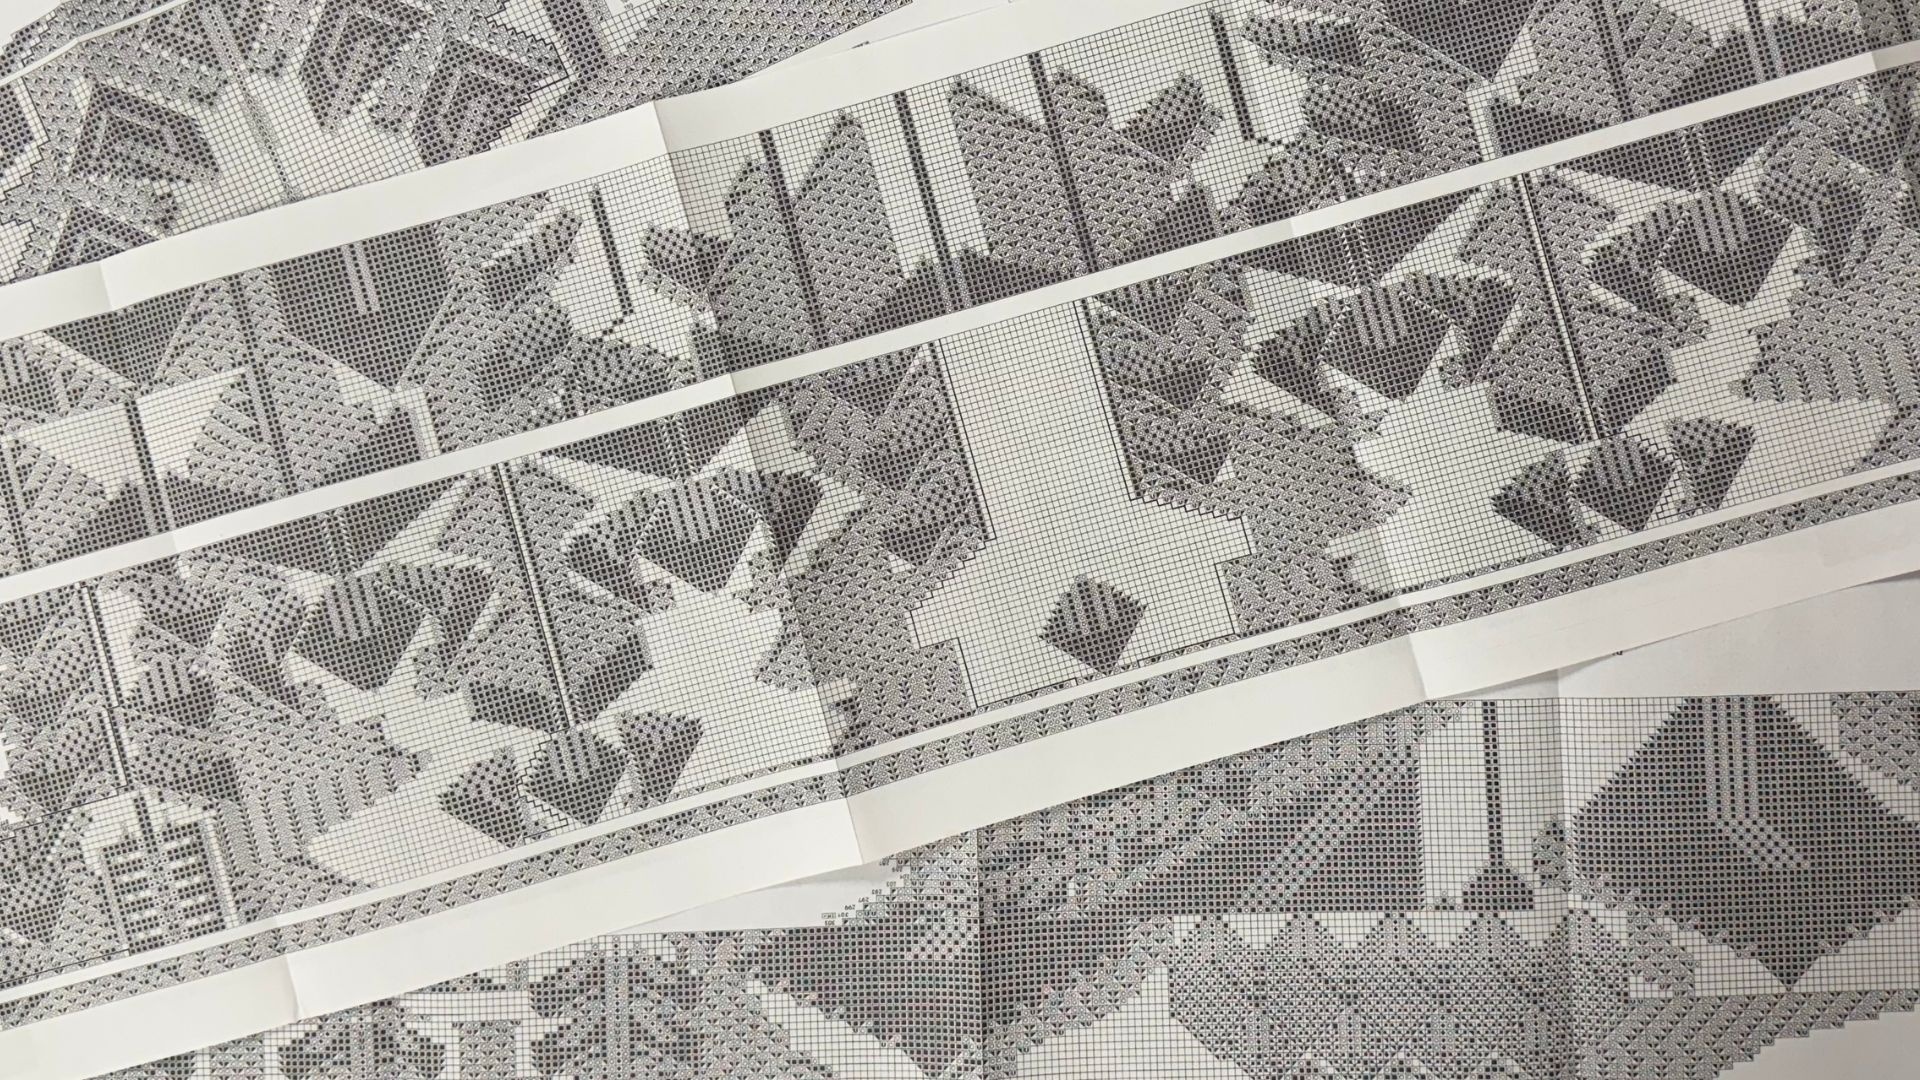
And perhaps don’t begin your chart-reading adventure with Herbert Niebling lace. I have a booklet of his incredibly intricate lace designs in my personal library, and those charts deserve to be called intimidating.
Crochet Charts
Crochet charts appear less frequently, partly because crochet is more free-form and can be more complicated to represent on a grid.
But I love it when a crochet chart is included.
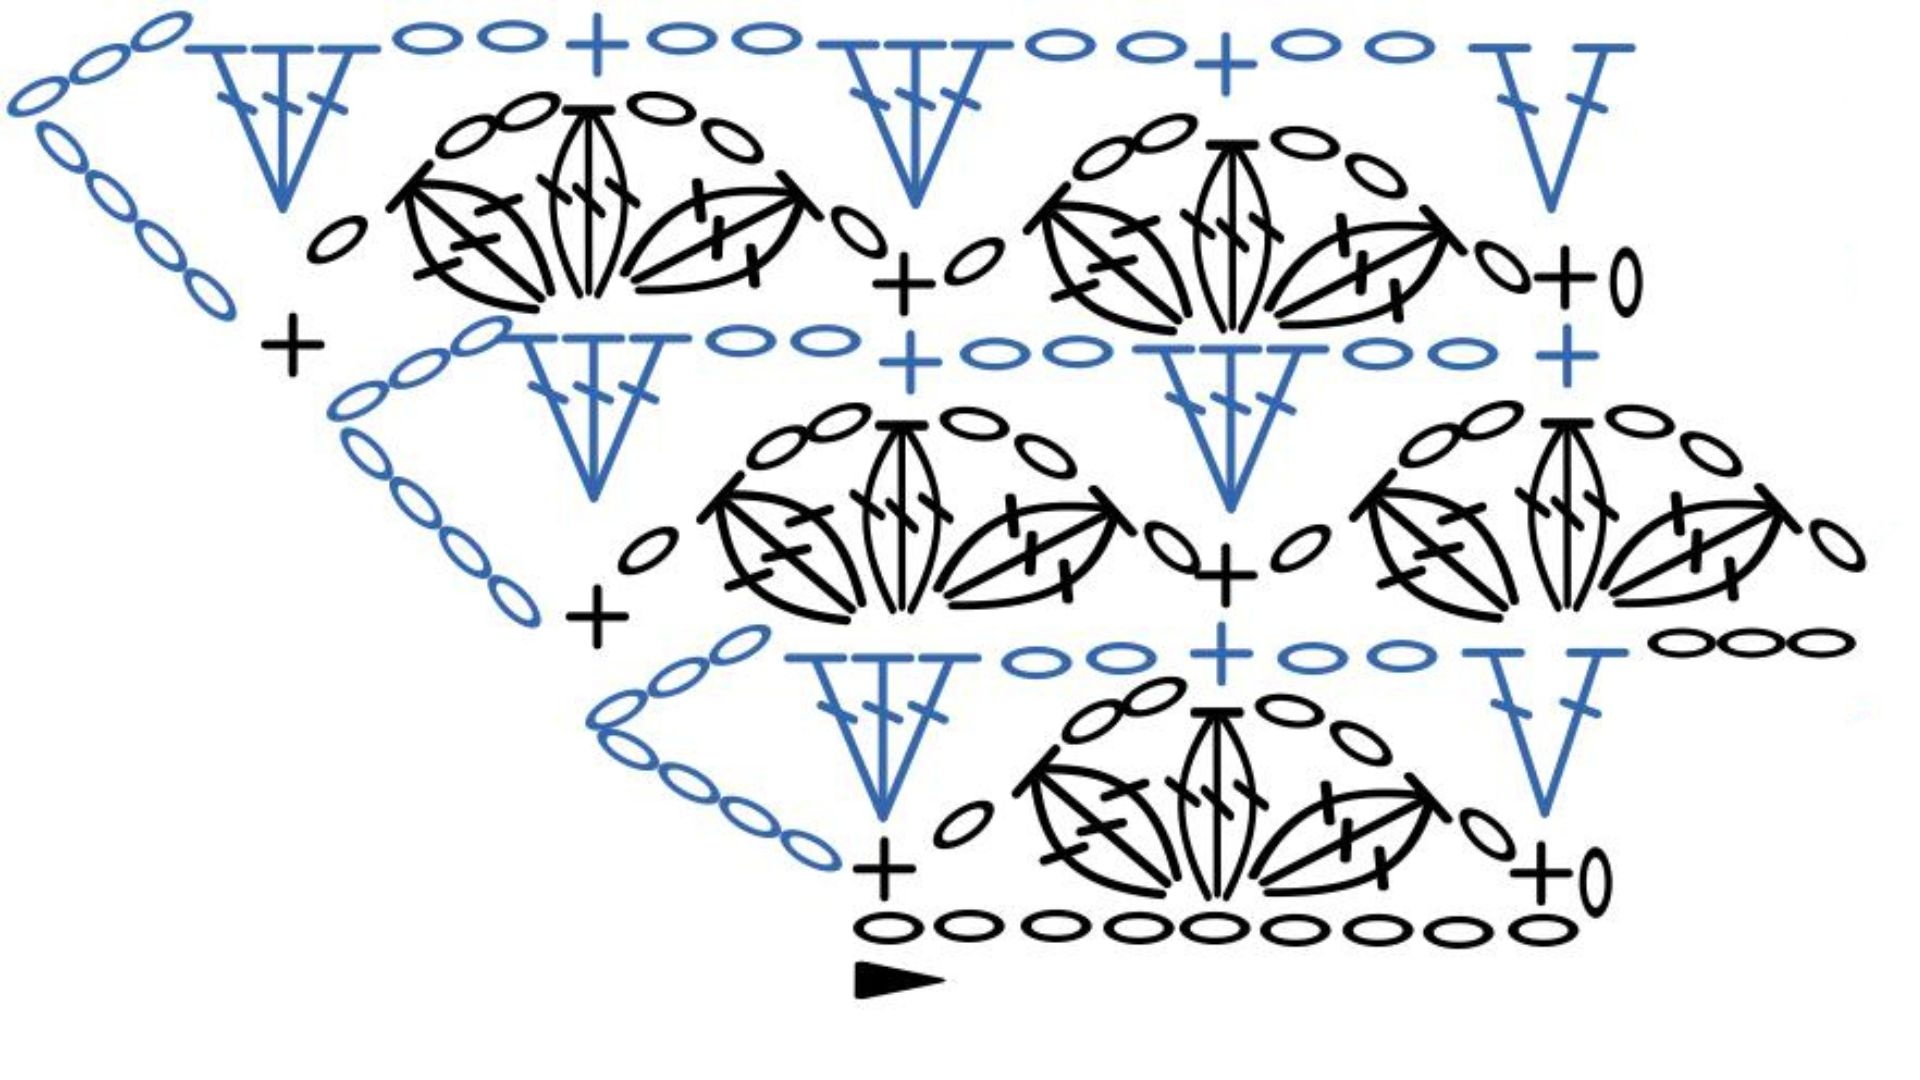
Crochet instructions can become extremely wordy, particularly when stitches are being worked into different stitches or spaces from the previous row. A chart lets you see exactly where the stitches belong and how they relate to one another—something that can be very difficult to visualize from written instructions alone.
Just as with knitting charts, always begin by finding the symbol key.
Make Your Own
Here’s one of my favorite tricks: if you’re struggling to understand a stitch pattern, make your own chart.
Grab some graph paper and a pencil and begin plotting the stitches. Even if the pattern didn’t originally include a chart, turning the written directions into something visual can make the structure suddenly become obvious.
I’ve done this countless times, and it works wonders.
Don’t Run From the Chart
The next time you encounter a chart in a pattern, don’t immediately turn the page.
Start with the key. Follow one row at a time. Choose a simple chart for your first project and build your confidence from there.
Once you learn to read charts, they stop looking like mysterious grids of symbols and start looking like what they really are: a picture of your knitting or crochet waiting to happen.
Give them a chance. They just might change the way you read patterns.
Prefer to watch?
Here’s the original Decode feature from 24 Days of SWAK.
Leave a comment
Recent articles
View all
Sirdar
Koigu